 I went to a local scrapbook store and bought all different papers in red and blue, so it would match my Raggedy Ann Dolls.
 I'm sure there is an actual tool to do this, but I used two nesting mixing bowls and traced a large and smaller circle on each sheet. Then I cut them out with a scalloped edge scissor.
 Mix and match the patterns till you like it, and glue the smaller centered in the larger circle.
 Punch a hole on each side of the circles.
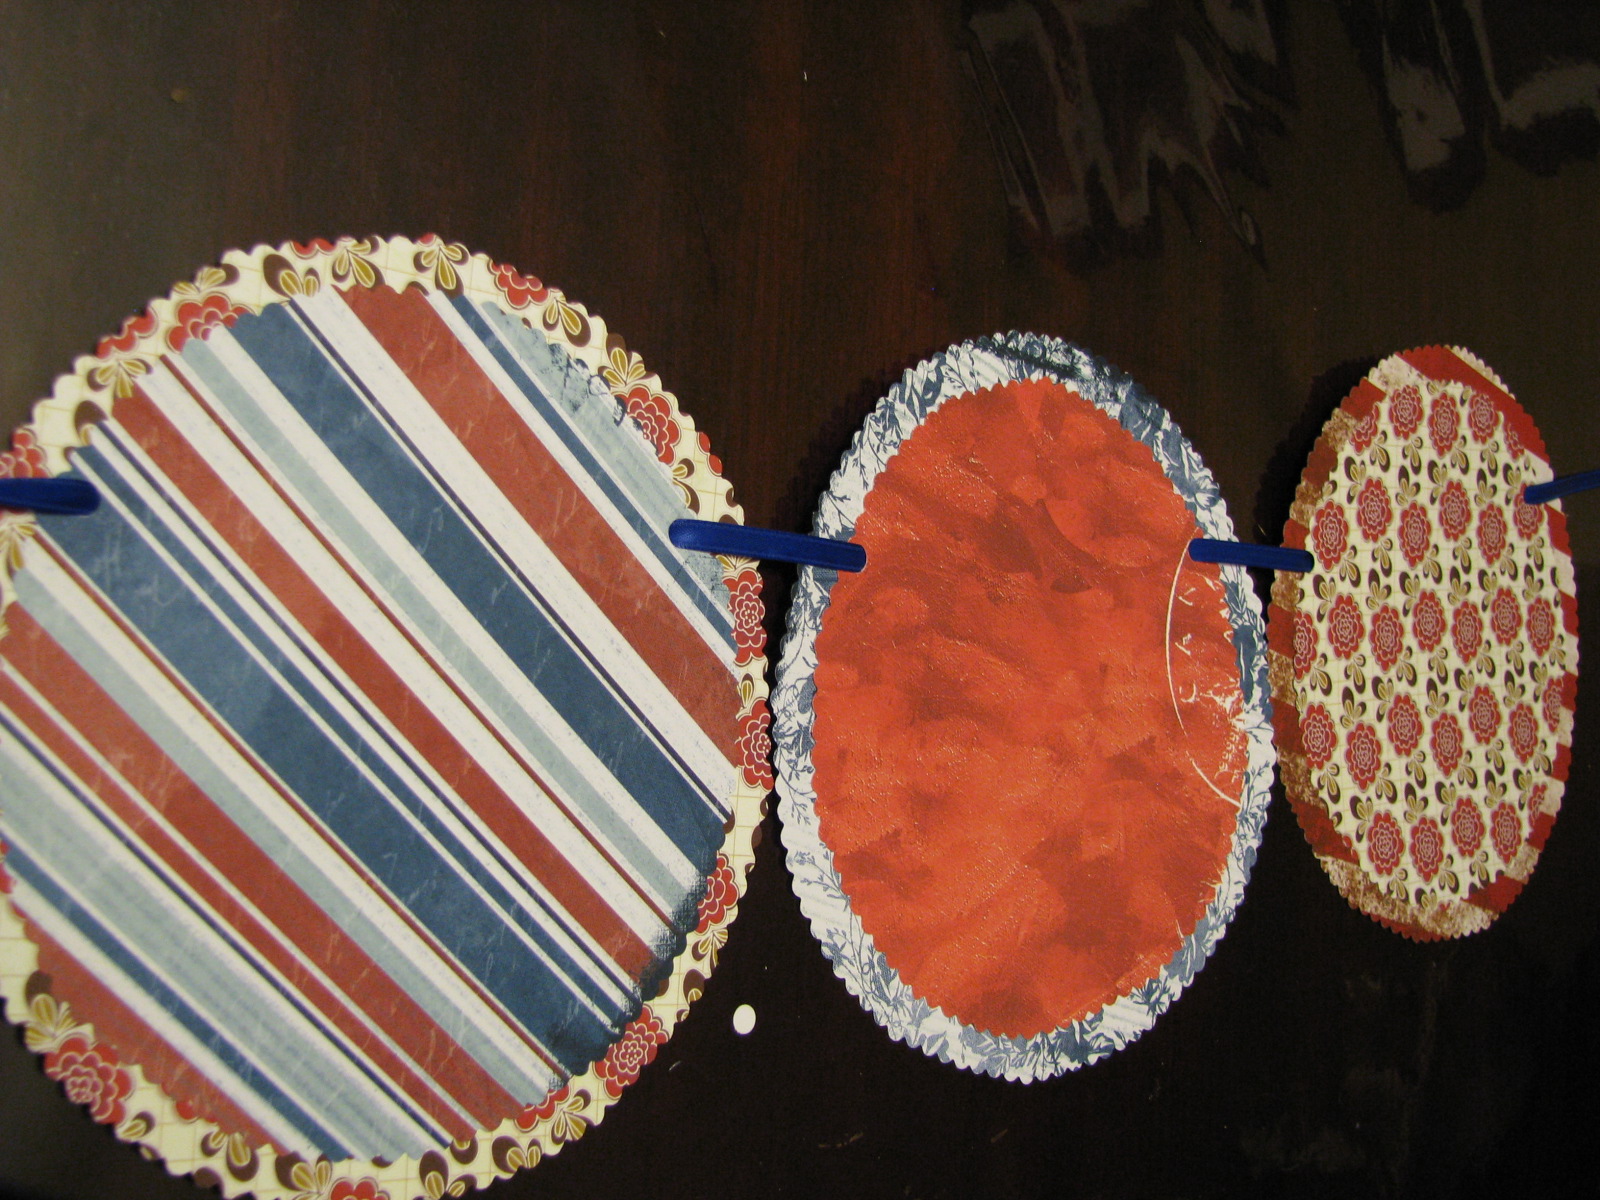 Thread a long, thin ribbon through to make a row of circles.
 Then I used my ribbon scraps in blue and red and tied them between each circle. This had two functions, it kept the circles from sliding on the ribbon once it was hung, and it made it oh so much cuter!
 Next you need to add letters (1 per circle). You could use letter stickers, but I borrowed a friend's Slice scrap booking tool and used that.
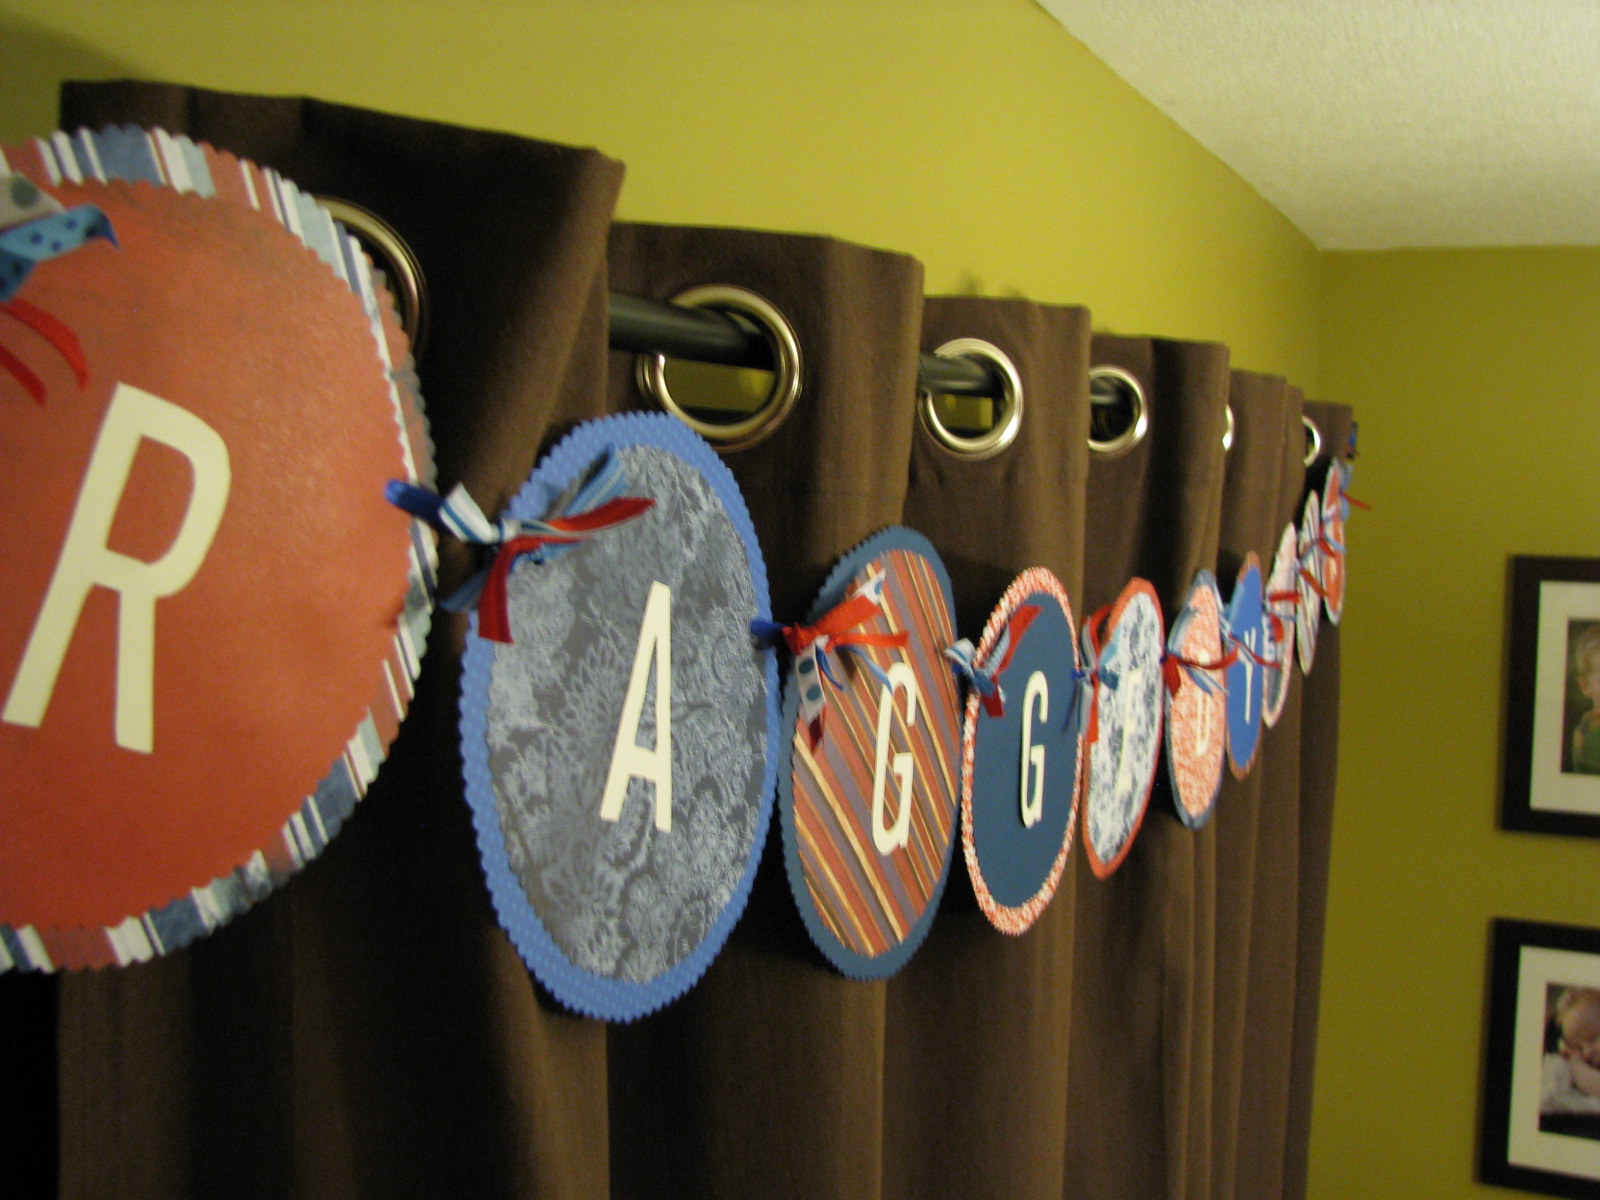 Hand up the banner, and you're done.
 Final product view one.
 Final product view 2.
It was such a sweet addition to the party and all the little girls loved it.
No comments:
Post a Comment
I love hearing from you! Let me know what you’re thinking.