Showing posts with label Kids In The Kitchen. Show all posts

Friday, March 16, 2012

Leprechaun Hat Cookies

We made some fun and easy treats for St. Patrick's Day today. They are reminiscent of the Pilgrim Hats we made for Thanksgiving, so if you liked those, you'll like these too!

What you need: chocolate chips, large marshmallows, shortbread cookies with chocolate on the back, green coloured sugar, and toothpicks.

Start by melting the chocolate in a double boiler, or in your microwave (be sure to stir every 30-45 seconds if you are using the microwave!)

Insert toothpicks into marshmallows to use as a handle, and dip them in the melted chocolate.

Let the excess chocolate drip off.

Put chocolate covered marshmallows on the chocolate side of the cookies, and gently pull out the toothpicks. Touch up any areas that need it with the melted chocolate.

Let the cookies set until the chocolate is hardened. Tip: put the cookies in the fridge for quicker set-times. (about 15 min)

Put remaining melted chocolate into a Ziplock bag, and snip a small hole in one corner to make it into a pseudo-icing bag. Pipe chocolate around base of marshmallow.

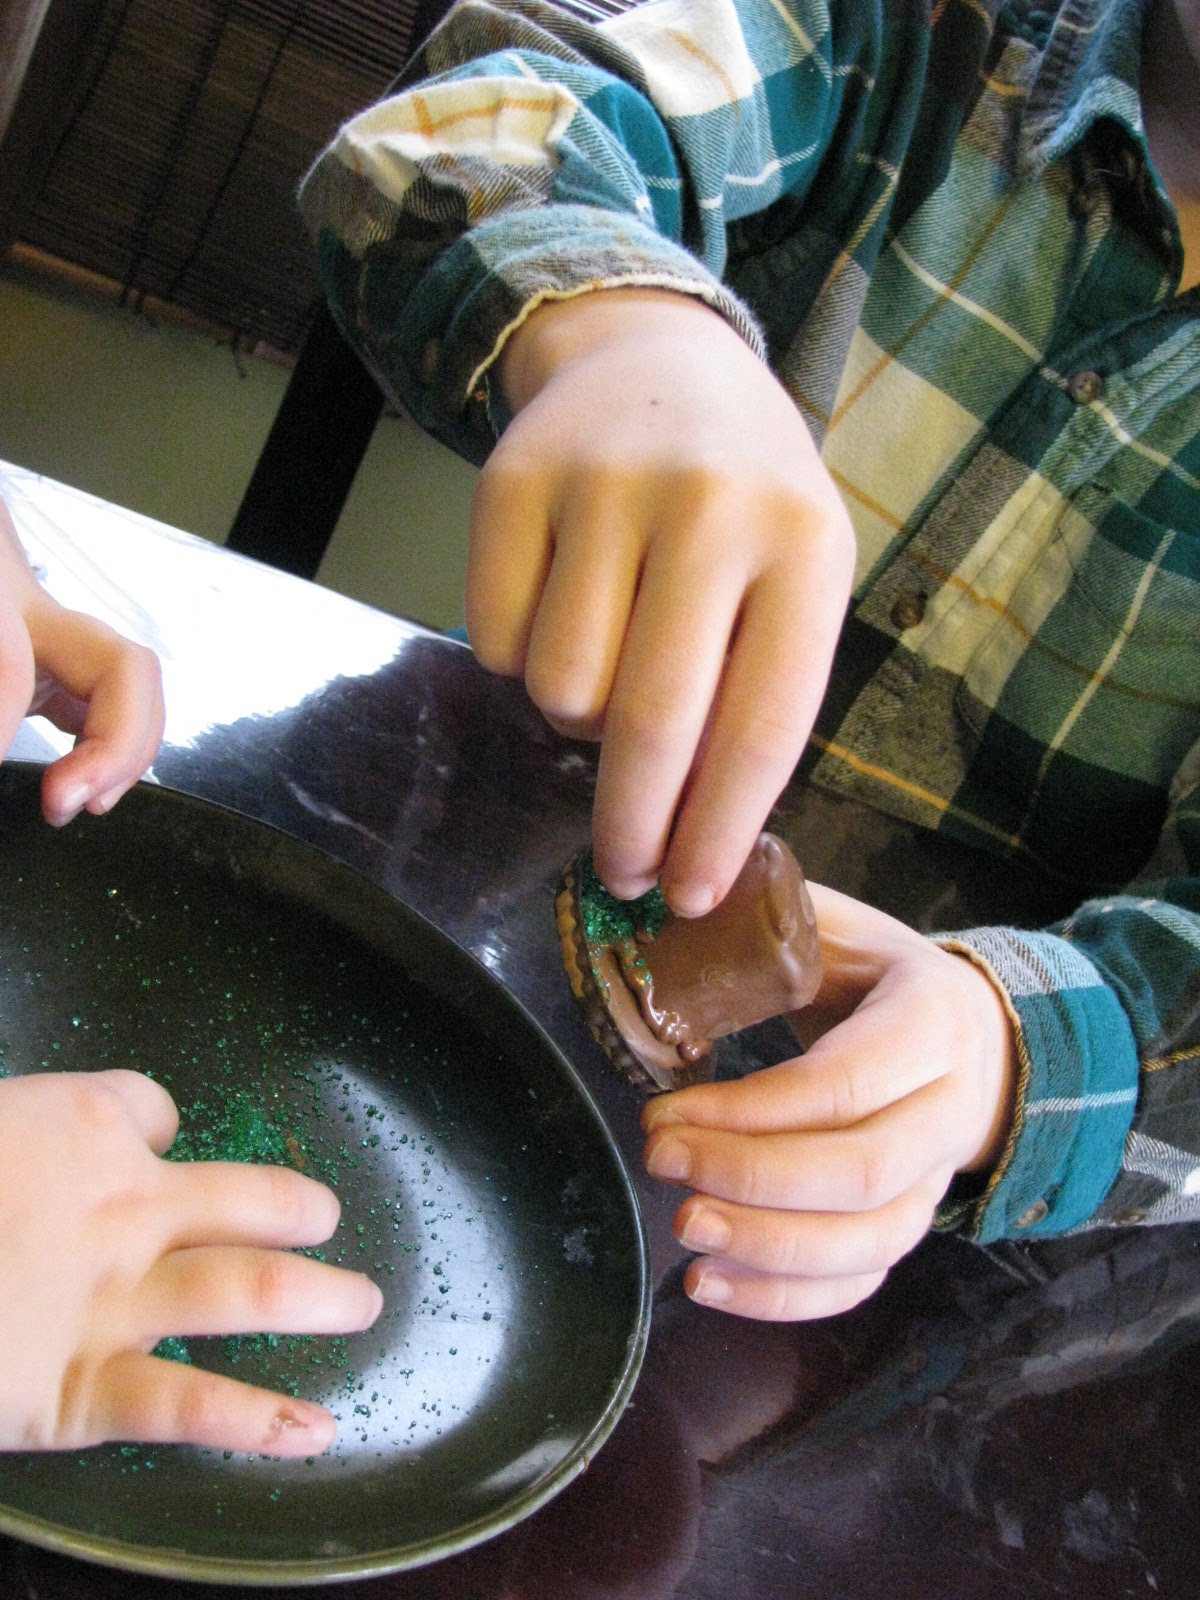
Sprinkle the green sugar on the melted chocolate.

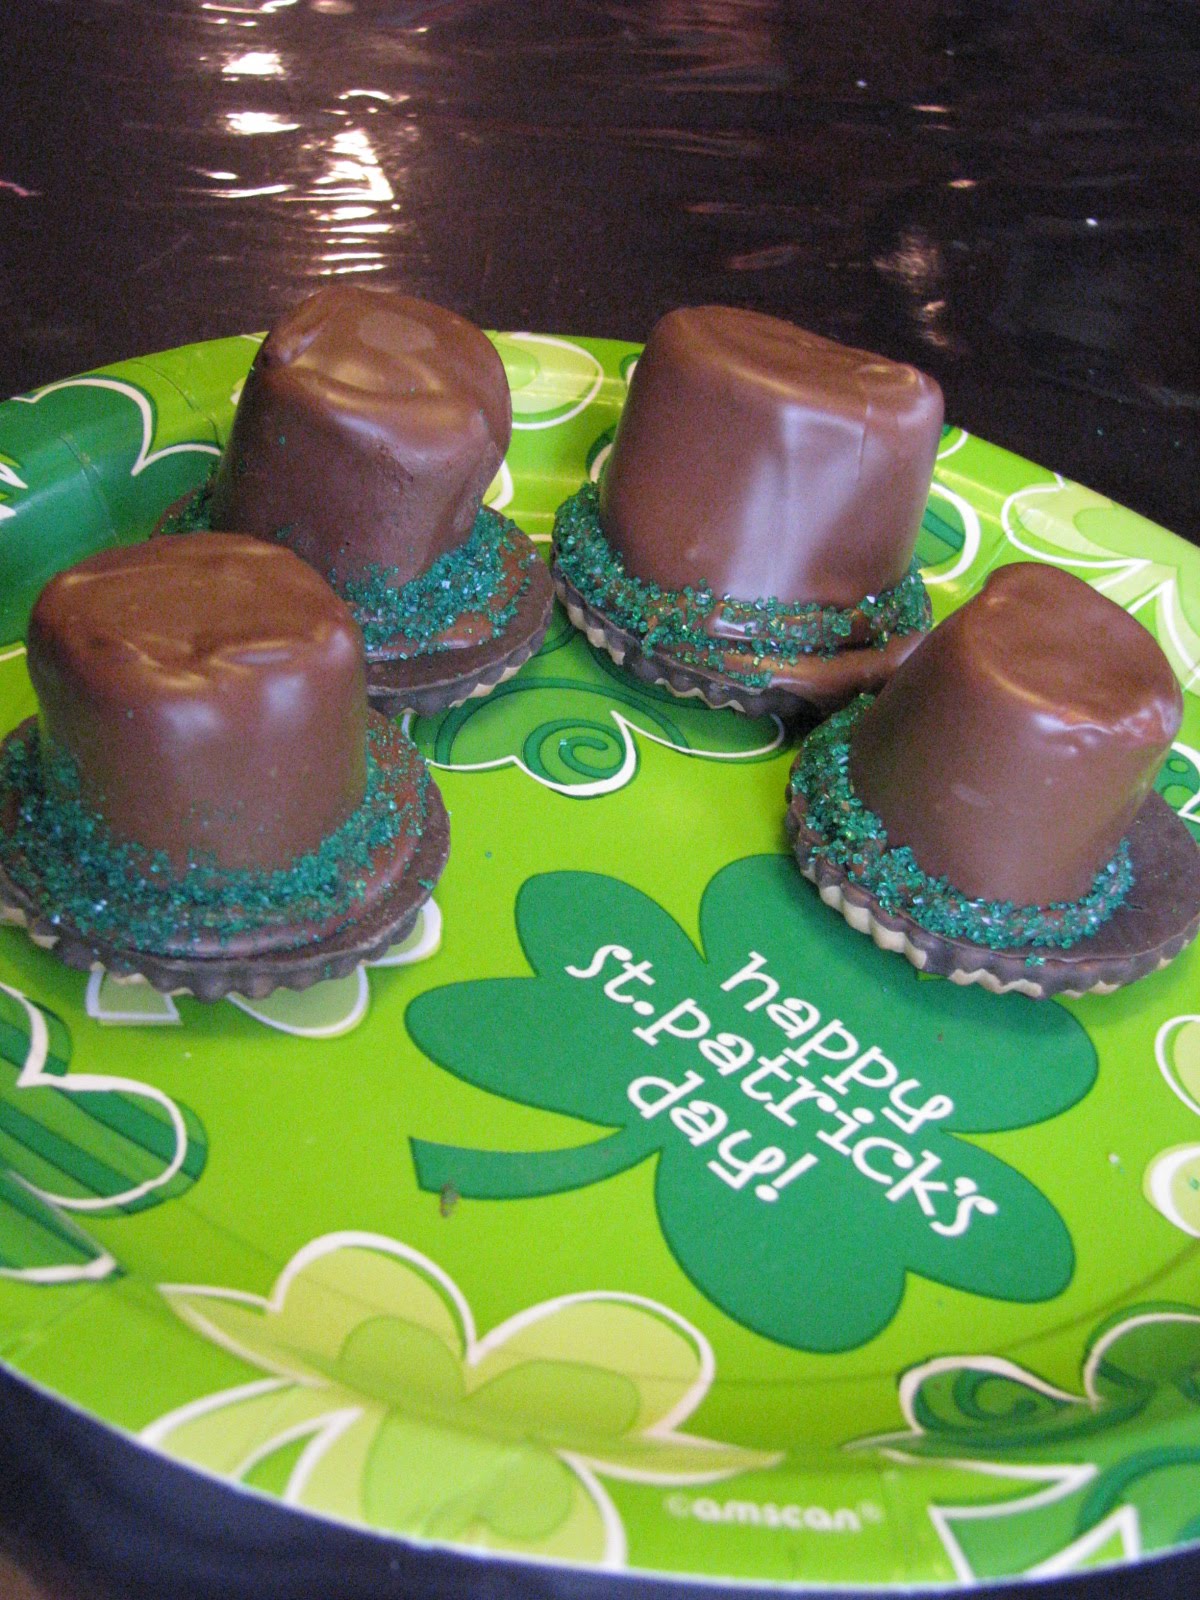
Ta-Da! Little Leprechaun Hat cookies! (They are pretty good, too!)

Saturday, February 18, 2012

Swirly Valentine's Cupcakes

Something pretty for Valentine's Day.

To make cupcakes with swirls inside, make a batch of white cake batter, and add food colouring to half. We put pink in the bottom of half the cupcake wrappers, and white in the other half.

Then add the other colour on top of the first one.

Swirl them together with a toothpick.
Then bake and cool them as usual.

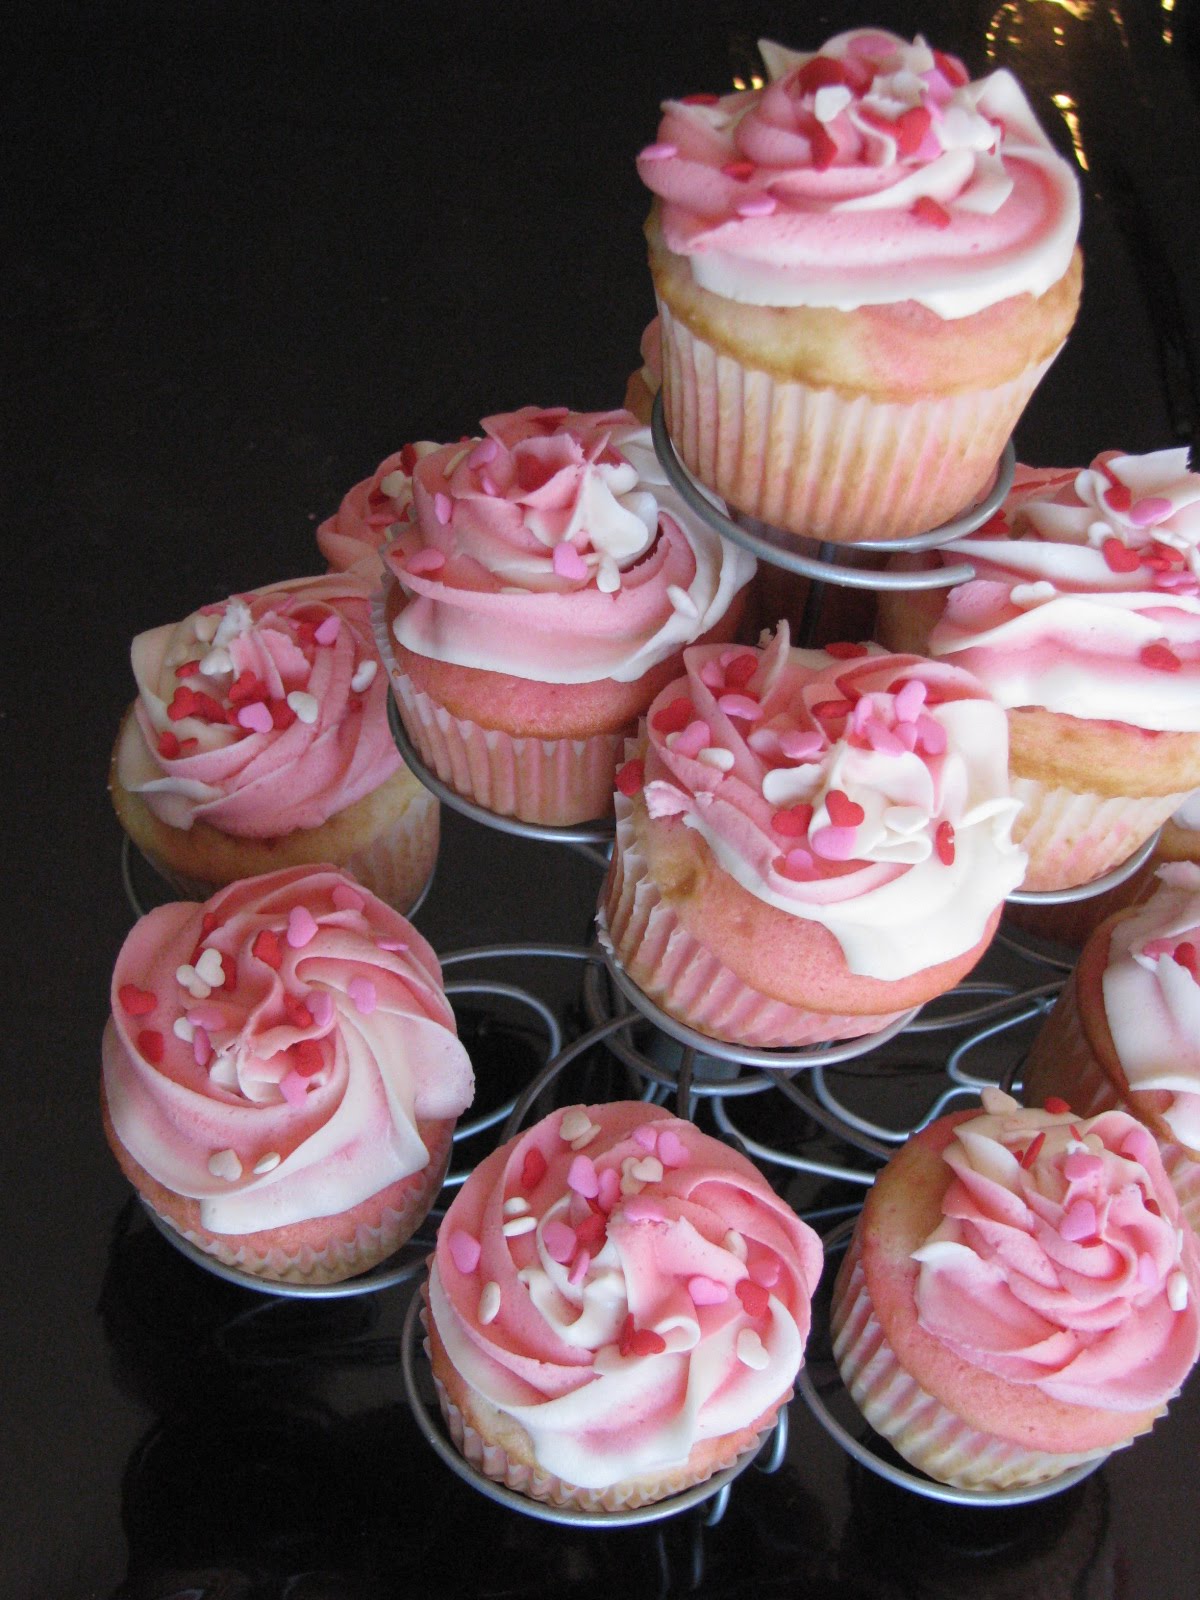
To make swirly icing, we put pink and white icing in my decorating bag at the same time, and then piped it onto the cupcakes. So pretty. As a finishing touch, we added little heart sprinkles to the top. Cute.

Here is our filled cupcake tower.

Last step: eat them up!

Tuesday, February 14, 2012

Chocolate Dipped Valentine's Cookies

We always make sugar cookies at Valentine's Day. Usually we decorate them with pink frosting and candies, and last year we turned our regular cookies into cookie-pops.

This year, I added chocolate. Yum!

To make them, I just make regular heart-shaped sugar cookies, and when they were cool, I dipped one half in melted chocolate chips. Tip: I set down each cookie on waxed paper until they chocolate set. Then clean up was just throwing away the waxed paper. Ta-da!

I really liked the way they looked, (more of a grown-up cookie) and even more the way they tasted. To make them more kid-appealing, I sprinkled half of the cookies with Valentine sprinkles while the chocolate was still soft.

Monday, January 30, 2012

School Lunches - Part 4: Fun with Fruit

Packing fruit in with the kids' lunches is a given, but that doesn't mean I can't try to be a little creative with it!

Here are a few things I've done:

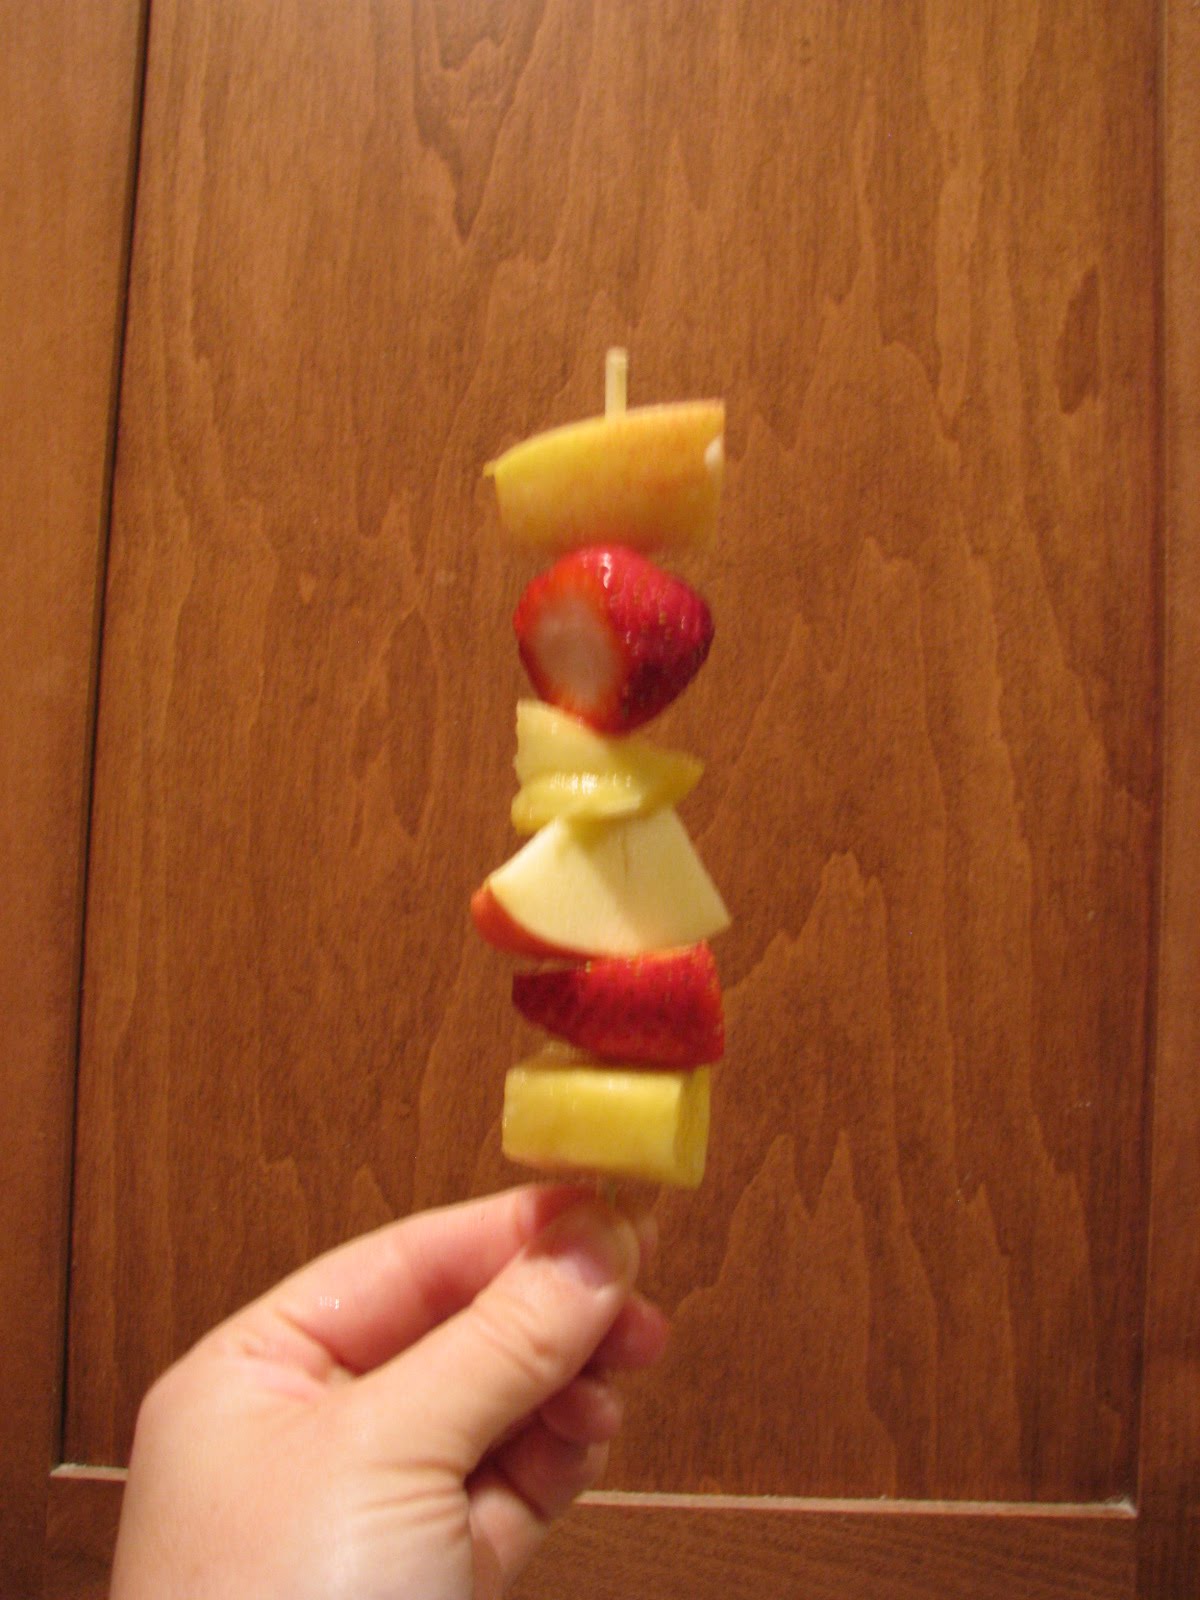
Idea #1: Kabobs. This is a great way to use up the 'scraps' you may have in the fridge. And they look so fun and colourful. A great switch from the eternal apple slices.


Idea #2: Variety! This is a biggie. Just changing what fruit they get every day is a big help in getting them to eat it. I totally understand. I don't want to eat the same food four days a week either. So when I go grocery shopping, I try to get as much of the seasonal fruit as I can. Maybe one day, the kids will have a little container of grapes, the next slices of kiwi, the next some melon balls, and the next a pear. Variety is a big deal.

Idea #3: Slice them up differently. Just having it look different than it always does can inspire kids (and grown-ups!) to eat more of it.

Two ways to pack strawberries: whole, or sliced.

Orange wedges, orange circles.

Idea #4: The magic banana! This is so fun. I actually read this in a book of kids magic tricks and thought it would be great to do in their lunches. Take your regular banana, and a clean pin. Poke the pin through the peel, and sweep it back and forth a few times to cut across the banana, without letting it poke out the other side. Repeat at 1" intervals all along the fruit. Then when your kids peel the banana, it will be sliced and they will wonder how you did it.

Idea #5: Dippers. I don't like to do this too often, since dips are generally sweet extras, but once in a while it is fun to include a fruit dip for them. A few of my favorites are:

Honey - Lemon:

1 carton (6 oz) lemon yogurt
1 package (8 oz) cream cheese
1 tablespoon honey

Combine in a blender until smooth. Serve with sliced fruit. Store extra in refrigerator. (but there won't be any extra!)

Marshmallow:

1 jar (7.5 oz) marshmallow fluff
1 package (8 oz) cream cheese

Combine until smooth. Hint - have the cream cheese quite soft before you make this. Serve with sliced fruit. Store extras in refrigerator. (but again, you probably won't have any left!)

For a no-work required, (and healthier) dip, just include a small container of yogurt and they can dip with that too. And since I'm not a huge fan of the chocolate-hazelnut spreads, I've never included that, but I'm sure there are kids who would love to dip in a little cup of that! And hey, as long as they're eating the fruit, right?

Wednesday, January 4, 2012

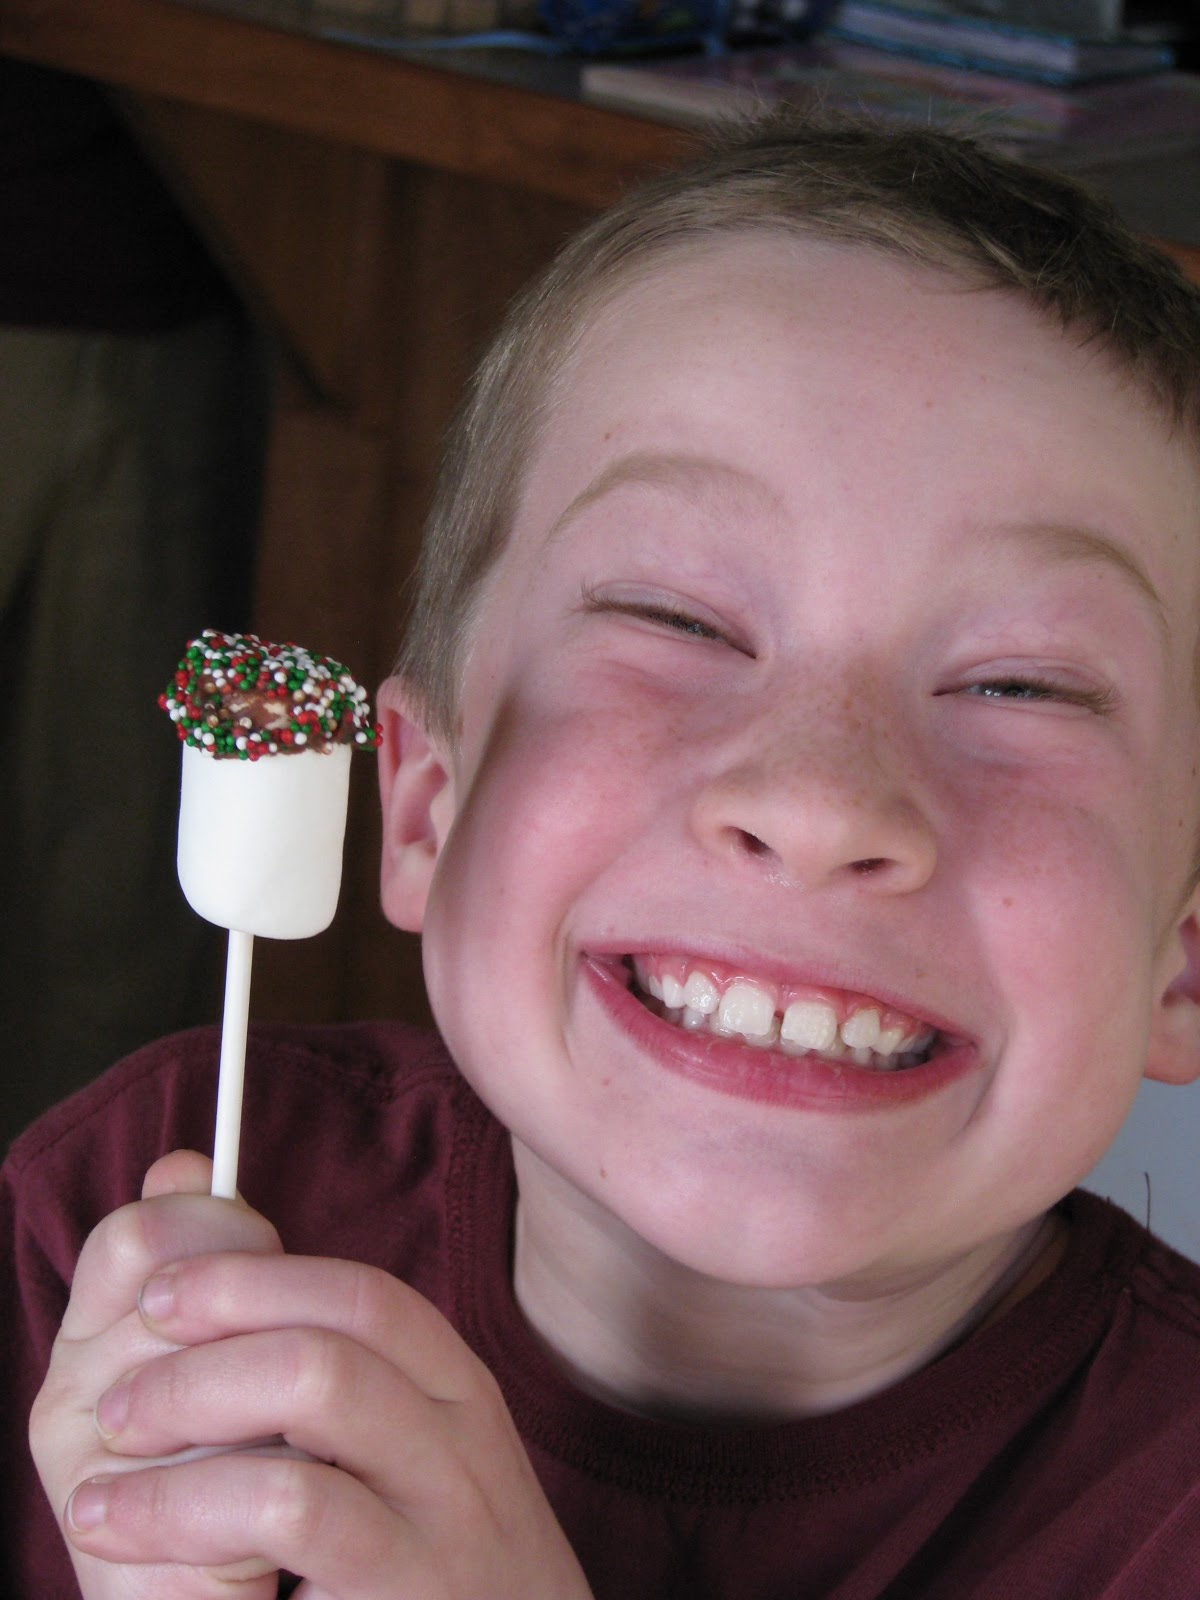
Christmas Marshmallow Pops

We signed up to bring treats to my kids' class Christmas parties and rather than make cookies, we did something different. (My boy was so happy that his weren't the same as everyone else's)

Since I seem to be obsessed with all forms of lolli-pop-like goodies at the moment, we made some Christmas marshmallow pops.

If you like making treats that are quick, easy, and a hit with kids, these are them. Very basic stuff. I know that it is now January, and you can't use this idea now, but it is easily adaptable to different holidays. All you have to do is switch up the sprinkles.

First, poke the sticks into the marshmallows, then roll about halfway in chocolate. Then dip in bowls of festive sprinkles. I had red and green trees, red, green and white micro dots, and snowflakes for our sprinkle options. If you make them in February, use heart sprinkles, March you can use green, April you can use pastels....see how versatile this is?

All dipped and ready to share. We made them the night before so that the would be set when we brought them, but they are yummy with warm, melty chocolate too.

Last thing you need to do is watch your children get silly with anticipation.

Thursday, November 10, 2011

School Lunches - Part 3: Note From Home

What I miss most about having my kids at home with me for lunch is the connection I get to them during the day. I miss them. I want to have a little piece of them. And, what if, just what if, they feel the same way about me? What if all they need is a little bit of Mommy in the middle of their day to make it a little brighter? So I am a fan of the lunch bag note.


Idea #1: The silly note. I've blogged this one before. But we are still having so much fun with it. I like to find jokes that are fun, quick and easy for them to remember and to tell their friends at recess. It is also fun to have jokes that are seasonal. Like ghost jokes at Halloween, Rudolf ones at Christmas, or if you know what they are learning about in school, you could try to tie that in too. If they are doing a unit on dinosaurs and fossils, put in a dino joke. If they are learning about the sea, do a pirate joke. There are lots of ways to go with this. Just have fun.


Idea #2: The love note. There is nothing wrong with writing a quick "I love you" on a note and slipping it into their lunch bags. In fact, that is a very nice thing to do. But my favourite love notes are specific ones. For example, if you noticed your son being especially thoughtful with one of his younger siblings, write that down and tell him how much you appreciated that. Or if your child comes home and gets all their jobs done right away without being asked, write them a note to tell them how proud you are of them for being so responsible. You could also use a love note to tell them something about them that you really admire about them. Maybe they are kind, or polite, or patient, or have any number of admirable qualities. Let them know. Kids need to know what it is that they do well.


Idea #3: The good luck note. This is a great one to do on a day when you know your child is facing a test in school. Especially if it is something they have been working on and worrying about. Plus, it shows them that you are aware of what is going on in their lives. You care, you are concerned.


Idea #4: The 'When you come home' note. I love these ones! It gives them (and me too!) a little boost to get through the rest of the afternoon, knowing that they are coming home to something fun that day. "I am making sugar cookies today. When you get home let's decorate them together!" "How about we order pizza for supper tonight?" "Dad got tickets to a hockey game and he's taking you!" "We're going over to Grandma's house for a visit today!" Whatever will give them a little spark.


Idea #5: The note in secret code. These notes should probably be kept short, since they will have to spend some time figuring out the meaning. For example, you could write the note in different colours, and only the words (or letters if you want to be extra tricky) written in red are part of the letter. Or you could write out a series of numbers, and each number is a letter of the alphabet. Or write a note in pictures and see if they can figure out the meaning.


Idea #6: General little letter. This is just a basic, 'Dear Daughter, How is your day today?' message, but can be great too. Tell them what you plan to do for the day, ask who they played with at recess, what did they learn about in math today, remind them that you'll see them soon, etc.

Saturday, October 29, 2011

Franken-Pops

We had such fun making the Candy Corn Marshmallow Pops, that I thought we'd give another project a go. This time we made spooky Franken-Pops!

This time, you'll need a few more supplies, but nothing too major. Waxed paper, lollipop sticks, large marshmallows, green chocolate wafers, a handful of mini marshmallows, chocolate sprinkles, and a food-writer pen.


While you have the chocolate melting in a double boiler, or in your microwave (stirring once every minute!) poke the sticks into the marshmallows, and line them up on a sheet of waxed paper.


Roll the marshmallow in the melted green chocolate until it is covered. Try to roll it smoothly so it has a nice finish. Wipe off any access at the top.


Dip the covered marshmallow into the sprinkles (this will be the hair).


Cut the mini marshmallows in half, and when chocolate is semi-set, stick the marshmallows on to be the eyes.


At this point, your treat will look something like this. Leave them set on the waxed paper until they are COMPLETELY dry.


Use the food-pen to draw the centers of the eyes, the face, and any scars you want to add to your monster.


And there you have it! Very cute, and my kids just loved them. (My oldest two were a little peeved that we made this while they were at school. But they forgave me when I let them eat one)

Thursday, October 27, 2011

Best Pumpkin Cupcakes

Technically, these are muffins. But I added frosting, so I think that officially marks the end of Muffin Territory, and brings you straight into Cupcake Land.

I've got to say, if I had just read this recipe, I never would have tried it. I don't do that whole 'healthy living' thing that often, and anything that calls for bran qualifies. But these really are fantastic. I definitely prefer them to the Pumpkin Muffin recipe I already posted, but these are a little more time consuming.

I got the recipe from a Joy School mom. This is what she made her dinosaur cake with that was so delicious.


Muffins:

1 1/2 cups flour
1/2 cup oat bran
2 teaspoons baking powder
2 teaspoons pumpkin pie spice
1 teaspoon baking soda
1/2 teaspoon salt
1 cup canned pumpkin
1/2 cup finely grated carrots
1/2 cup buttermilk
1/2 cup honey
1/4 cup butter or margarine, melted
1 egg
1 teaspoon vanilla
1 teaspoon orange zest
1/2 cup chopped walnuts (optional)

Preheat your oven to 375, and spray your muffin tin with non-stick spray. In a large bowl, combine first six ingredients and mix to combine. In a separate bowl, combine remaining ingredients and mix well. Add the wet ingredients to the first bowl, and stir until it is all moist. (The batter will be thick). Spoon into muffin cups, and bake 20 minutes, or until a toothpick comes out clean. Remove the muffins to a wire rack and let cool completely before frosting.

Butterscotch Icing (I have to say, this icing is really what makes these so fabulous!)

1 cup brown sugar
1/2 cup butter
1/4 cup milk
1/2 teaspoon vanilla
about 2 cups icing sugar
Mix brown sugar and butter in a medium saucepan. Cook over medium heat until sugar is dissolved. Bring to a boil, and cook 2 more minutes. Add the milk, stir until it comes back to a boil. Remove from heat, cool to lukewarm, add vanilla. Gradually add icing sugar until it is a consistency you like.


Gently hold the muffin and dip the top in the icing. As you lift it from the pan, give it a little swirl. Let the icing set. Add a decorative topper, if you want.

ENJOY!

Friday, October 21, 2011

Ghost Lollipops

I'm sure I saw these years ago in a magazine. Martha Stewart Kids, maybe? Anyway, however they came into my life, we are all happy they did!

Very basic list of supplies: bag of white chocolate chips, a few regular chocolate chips, lollipop sticks, and waxed paper.

First, melt the white chocolate. I use my microwave one minute at a time, stirring in between. You can also use your double boiler, but that is slower.

Spoon out a bit of white chocolate onto waxed paper, and shape it into a ghost with the back of the spoon.

Insert a lollipop stick into the ghost, and twirl it a bit to get it coated in chocolate all the way. (If you don't the stick won't really stay in and you'll lose your treat.)

Add brown chocolate chips for eyes.

Now just wait for them to dry. Ours were taking forever to set, so I popped them in the freezer, and they were ready in about 5 or ten minutes after that.

I found that my bag of chocolate chips made exactly 18 pops, if you are trying to figure out numbers.

Peel it off the waxed paper, and you've got a very tasty spook ready to eat.

Monday, October 17, 2011

Candy Corn Marshmallow Pops

As you may recall, I have a bit of a love affair with candy corn. Last fall I used them for Turkey Treats, Halloween Jello, cute cupcakes, and inspiration for tissue paper puffs.

I think it is safe to say, I find candy corn adorable. (funnily enough, I love the look of candy corn, but I don't actually like the taste of it. Ha!)

So this year, in an effort to find another fun way to use my favorite fall motif, we made candy corn marshmallow pops. So easy, so fun, so cute. (And so yummy!)

What you need: waxed paper, yellow chocolate melts, orange chocolate melts, jumbo marshmallows, and lollipop sticks.

Step 1: Insert the sticks into the marshmallows.

Step 2: Melt the chocolates. I did it in my microwave by heating them up 1 minute at a time, and stirring in between. You can also use a double boiler on your stove if you'd rather.

Step 3: Dip the marshmallow into the first colour until there is just a ridge of white left at the top around the stick. Let the extra trail off so you don't end up with a big 'blob' of chocolate at the bottom. Place it down on your waxed paper.

Step 4: Repeat, repeat, repeat. Let the chocolate dry before moving on.

Step 5: Dip in the second colour of chocolate, leaving a band of the first visible. Just like before, let the excess trail off before you put it on the waxed paper.

Step 6: Repeat, repeat, repeat.

When you are done, and they have dried, they will look like adorable little candy corns! How cute, right? Except....for all my love of the candy corn, I made a mistake and switched the order of the colours. To make it like a REAL candy corn, you need the yellow on the bottom and the orange in the middle. Oops! I was so annoyed with myself when I realized what I had done. But, on the upside, they are just as sweet as they would have been otherwise.

This whole project was probably about 30 minutes, including the drying times, so it isn't something you need to book an entire afternoon off for. Enjoy!

Thursday, October 13, 2011

School Lunches - Part 2: Same Ingredients, Different Presentation

My kids aren't really fussy eaters, but when it comes to sandwiches, it really all comes down to ham and cheese. They will not touch peanut butter and jelly. (Isn't that supposed to be the childhood standard? How did I get the only kids who can't stand the stuff???) Anyway, if they are going to have a sandwich, they want to have ham and cheese.

So we've been doing that. But even something they enjoy can seem repetitive after a while. So here is how we shook up the norm:

Idea #1: Home made Lunchables. I put crackers, cheese slices, and rolled up slices of ham into a Tupperware, then when they have their lunches the can build their own creations.


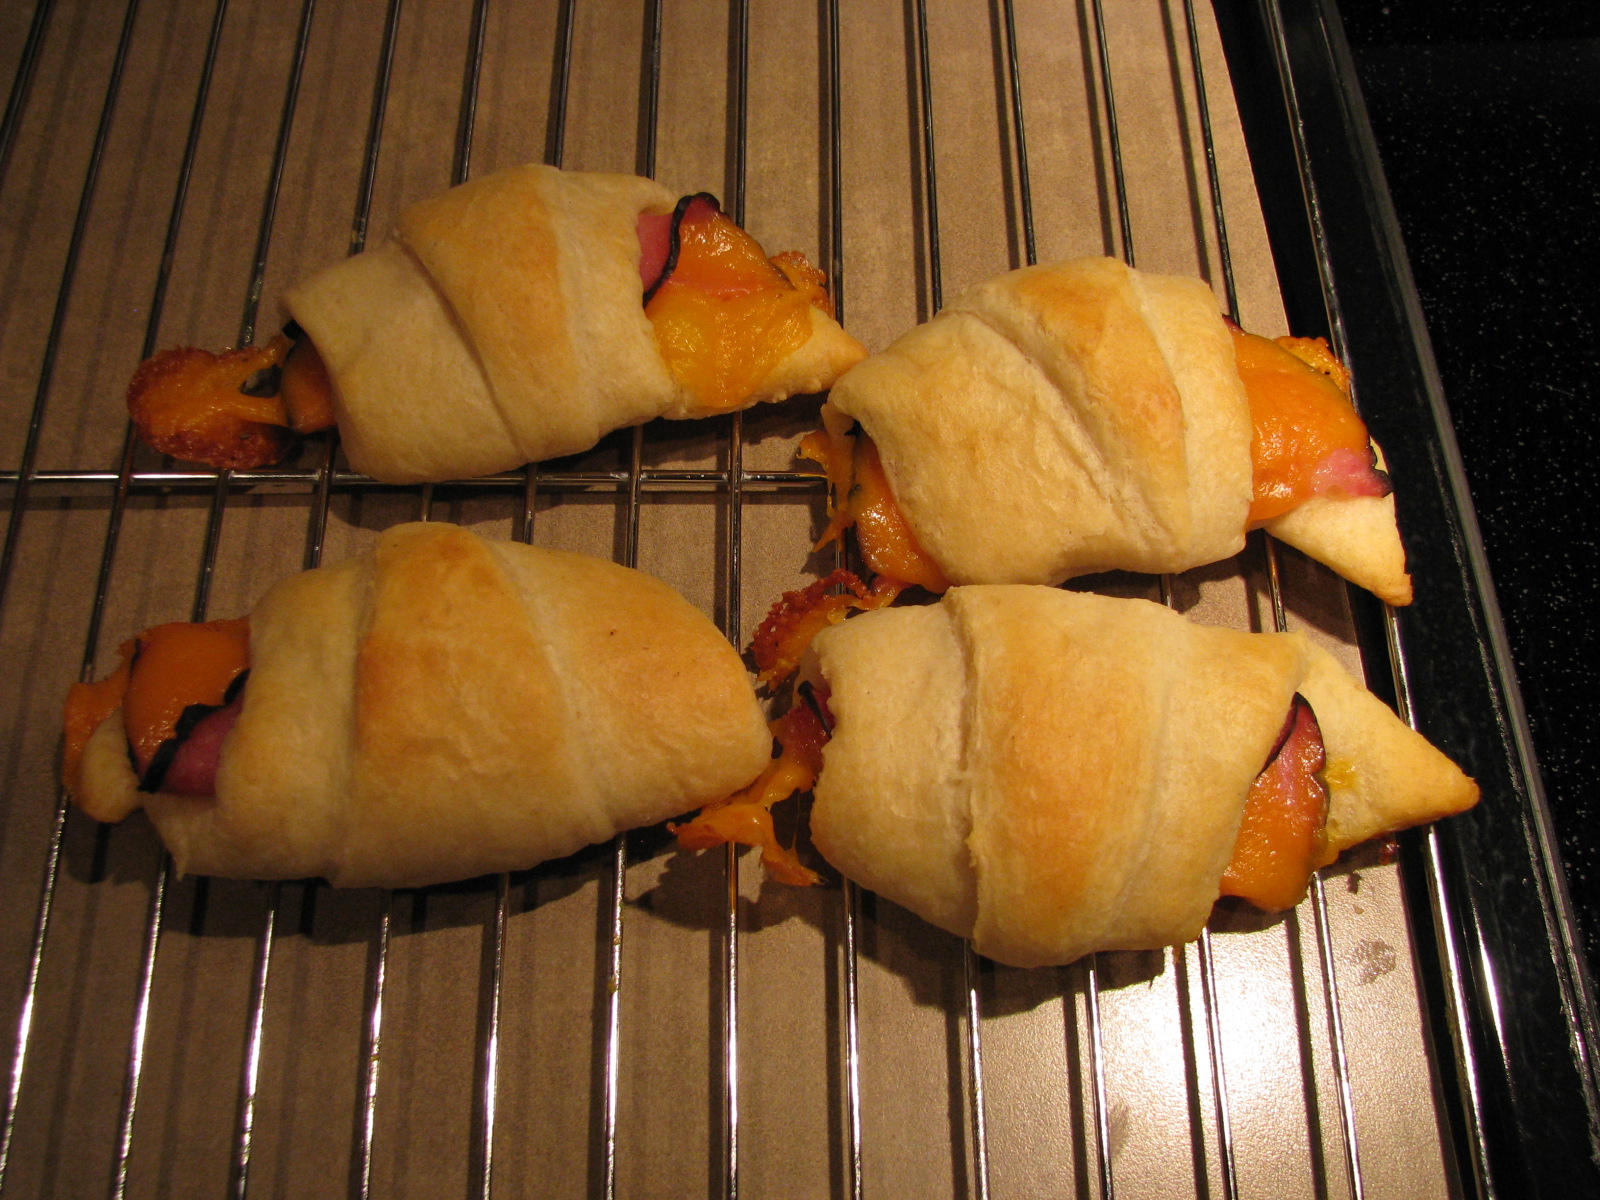
Idea #2: Baked-in-a-blanket. I used a package of Pillsbury crescent dough and wrapped the triangles around the ham and cheese before I popped it in the oven. They loved these. I have had requests for more several times.


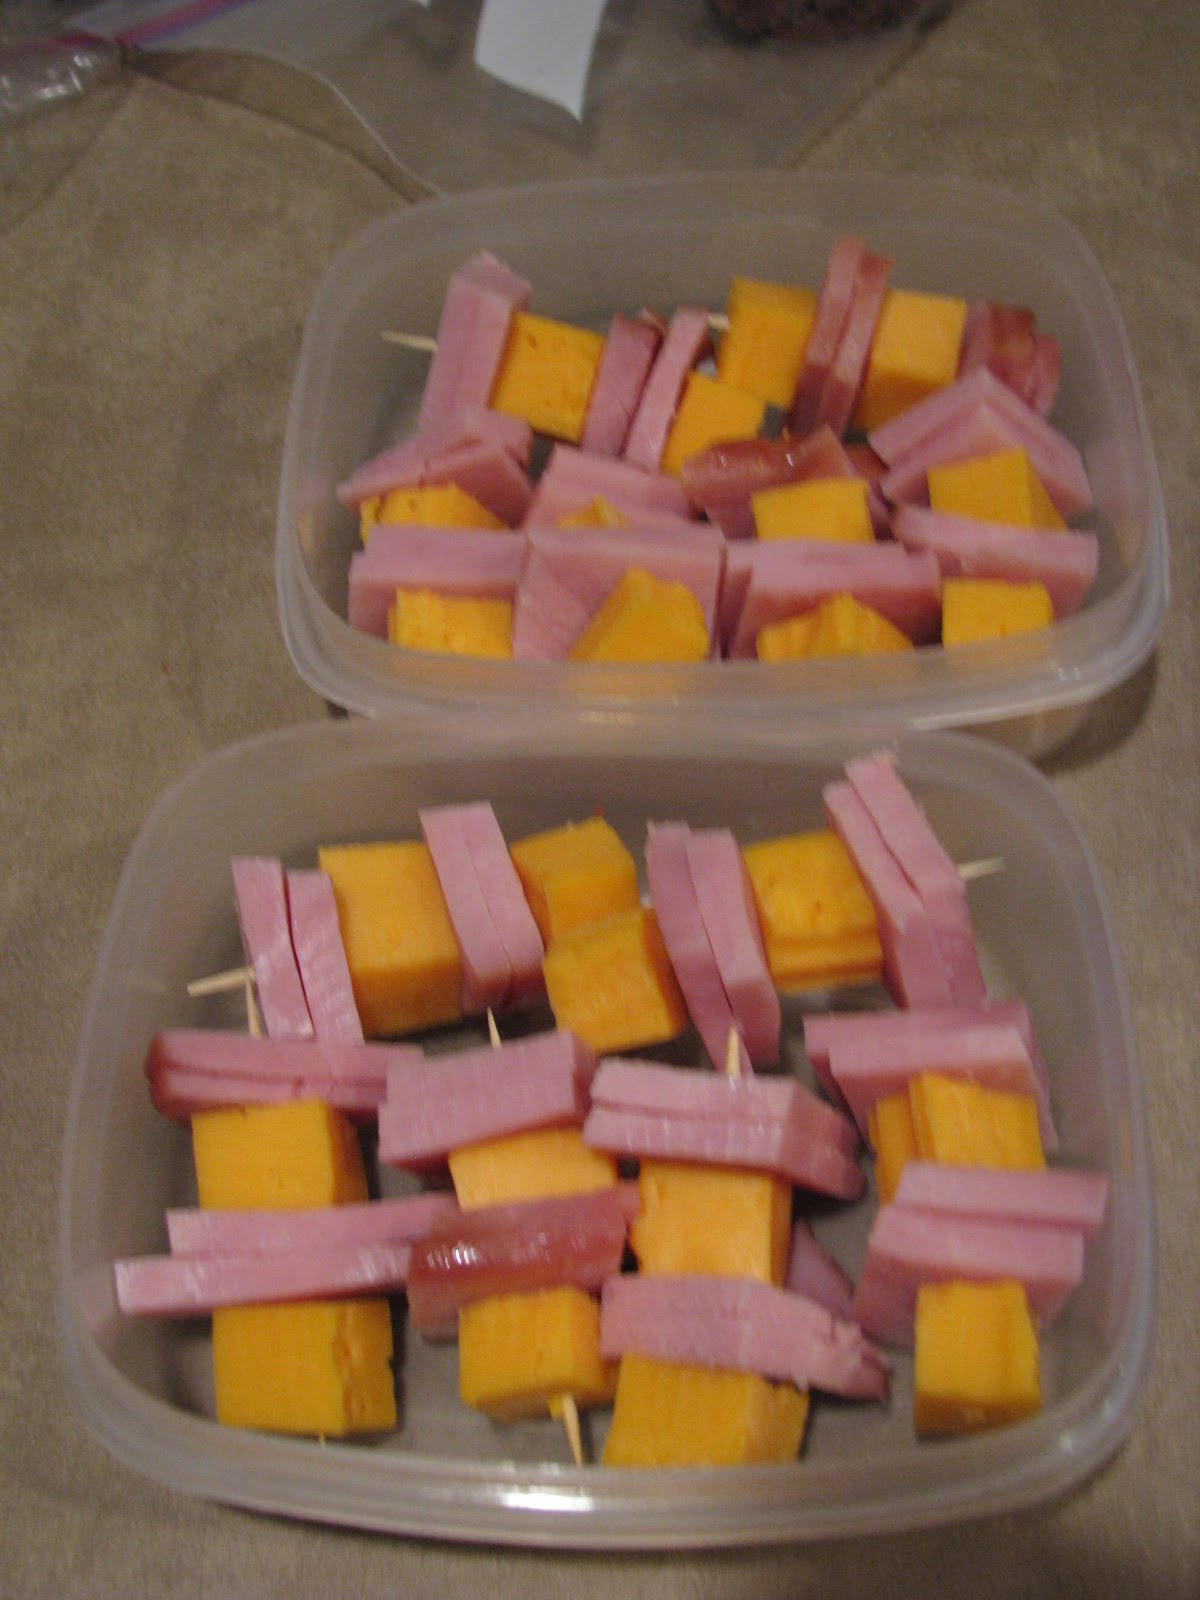
Idea #3: Kabobs. These were another one they really liked. No bread this time, but I just strung cubes of meat and cheese on toothpicks and filled up the containers. Easy peasey.

How else would you shake up the standard sandwich?
Related Posts Plugin for WordPress, Blogger...