 Once I had my icing ready, I got the rest of the supplies out: a small box of sugar cubes, a knife, and I cut the side off a cardboard box and covered it with tinfoil to use as our base. I also traced a mixing bowl with the tip of a pen to leave a marking on the foil to help us make a round igloo.
  We used our knives to spread a little icing on the sugar cubes, one at a time. I didn't try to put icing on the sugar cubes that were already assembled on the igloo because I thought the structure would collapse from the pressure of the spreading. I suppose you could try piping it on, but that still feels risky to me.
 We followed along the outline of the circle, and left just small cracks between each sugar cube. (they can't fit tight together because the sugar is a square, and the structure is a circle). We were also careful to leave an opening for the door.
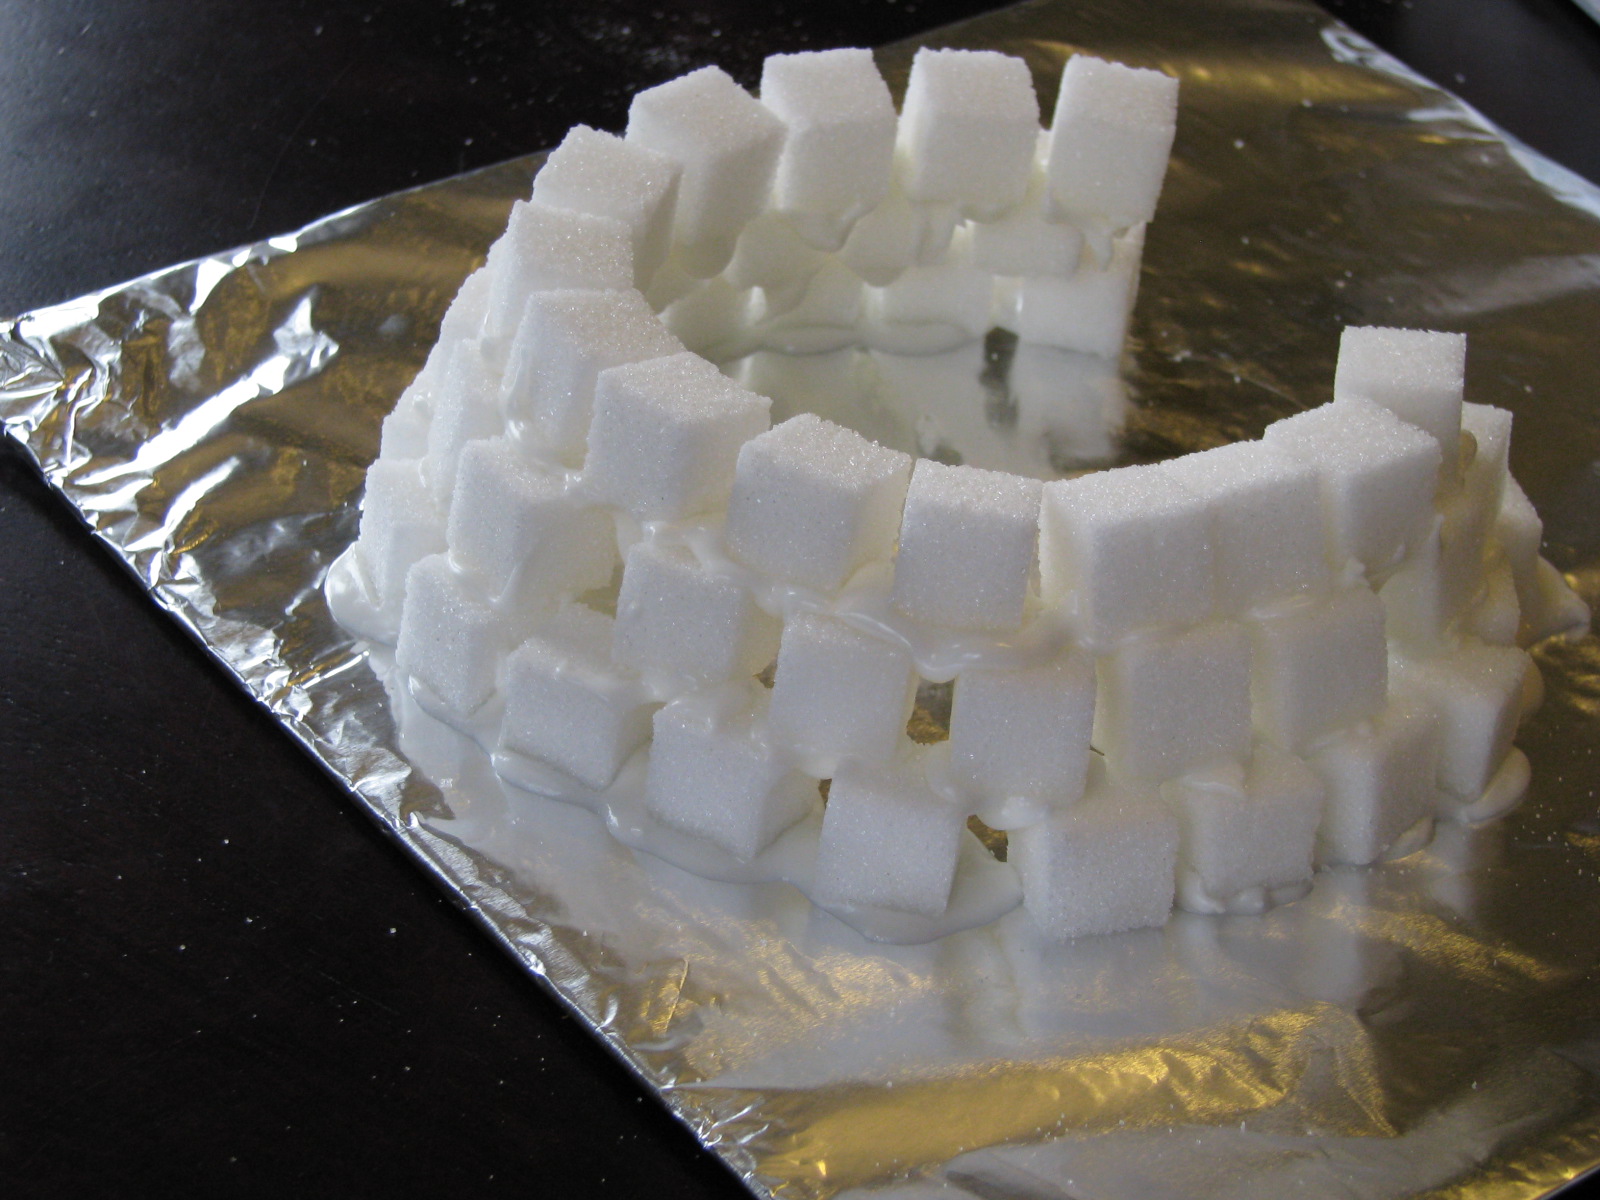 Then we added the next ring, putting the next sugar block over the gap between the ones below. We also moved our ring closer to the center of the circle so that the layers would eventually taper at the top.
 To build the door, I made this arch flat against the table. Then when it was dry, I could stand it up and it didn't fall apart. I acutally made two of them, so that one could stand out from the main structure a bit.
After we had our dome shape about half way done, we decided to let it harden up a bit before we added any more. (I really didn't want it to collapse!) *tip: be sure to cover up the icing in the bowl, or it could get hard and not work for you when you come back to finish the rest!
We left it for about half an hour, and when we came back, it was nice and firm and able to support more cubes.
 We came back and kept building up and up and up, trying our best to stagger the blocks over the cracks from the last layer. I propped up the entrance and we attached it with some icing.
  Since we had some left over icing, we spread it all over the base so it would be white like snow.
 Then inspiration hit, and we put a couple of tablespoons of icing sugar in our sieve, and we let it gently fall over the whole thing. Just like a fresh flurry!
 I think it turned out really well, and it didn't take as much time as I thought it might.
 The kids have all asked if we are allowed to eat it now that it is built. (I think they are remembering gingerbread houses from Christmas, where first you build it, then you sample it. Funny!)
Its is very cute good job
ReplyDeleteI have found so many interesting thing in your blog and I really love that. Private Tutor Winter Park Keep up the good work!
ReplyDelete