For the past couple of years I have made some very cute little cupcakes to celebrate Groundhogs Day. I got the basic idea from
Family Fun, but I made a few changes that make this project easier and faster for us.

A few of my little groundhogs saying 'hello.'
The biggest difference between the Family Fun cupcake and the ones I make is the candy I use. They suggest a full sized Almond Joy for the body of the groundhog. I'm not a fan of those to begin with, but I don't just use a different chocolate bar, I use a mini-sized one. In their instructions, you are supposed to cut a hole in the cupcake after you bake it in which to insert the chocolate bar. Cutting out the cake and just throwing it away seems crazy to me, so I use a smaller chocolate, and just plant it in the icing. It works just fine. And you don't lose any of the cupcake goodness!
Also, they use jellybeans for the eyes and then make pupils with black gel. That is a little fussy for me. Plus I cheap out buying all the different candies and opt to just get the mini m&ms. Then also the kids can choose the colour of their groundhog's eyes, which is kind of fun.
And lastly, they bought watermelon candies and cut them up into tiny pieces for the noses. Again, cheaping out on the candy, I just added a squirt of pink icing. Easy-peasy.
Okay, here's how I made them.

I made the cupcakes last night while the kids were sleeping so that they could help me make them right away and not have to wait for them to cool off.
My kids had a hoot using my
real icing bag, instead of just a Ziplock with a small hole in the corner of it, their usual lot. We used white icing to be the 'snow' that is on the ground in February.

Then we sprinkled Oreo cookie crumbs on the top to be the dirt around the groundhog's hole.

Then we built our groundhogs: a mini chocolate bar (Snickers and Twix this year) is the body. Then we used chocolate icing as our glue to add mini m&ms for the eyes, and brown ones for the ears and cheeks. A quick squeeze of pink icing between the cheeks made a quick nose, and a tiny bit of white below the cheeks for his teeth.

Then the groundhog nuzzles down into the icing and you are finished.

So cute! So fun!
 We used two small paper plates, (one for him and one for me) and painted them with light brown craft paint.
 After the light brown was dry, we used dark brown paint and a small paintbrush to create noses, whiskers and mouths on our groundhogs, and used glue and googly eyes to finish of their faces.
 Then I used a hole punch and some kitchen string to make them into masks we could wear. (This groundhog is mine. Are you amazed by my mad skills?)
 Then we put them on and pretended to be groundhogs.
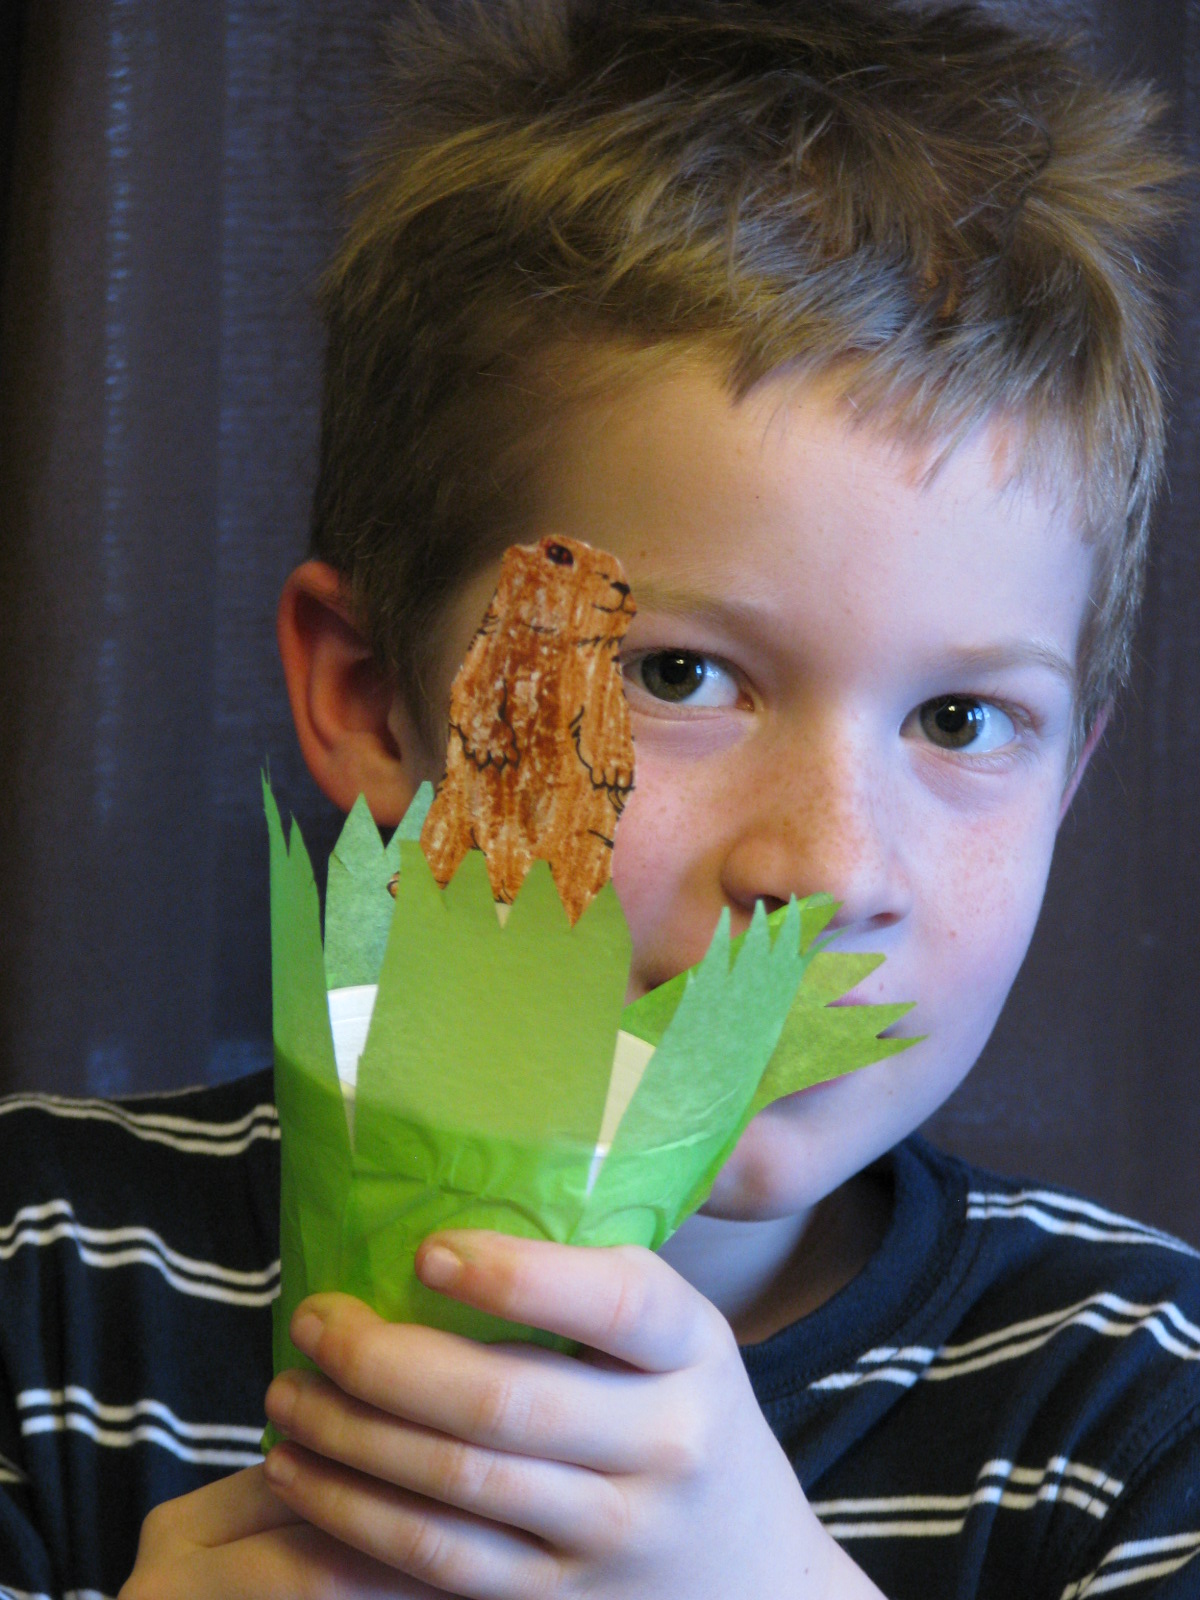
 Peek-a-boo!


