Showing posts with label Spring. Show all posts

Thursday, May 5, 2011

Silicone Daisy Cupcake Wrappers

Can I start off by saying that I in no way get paid for this?

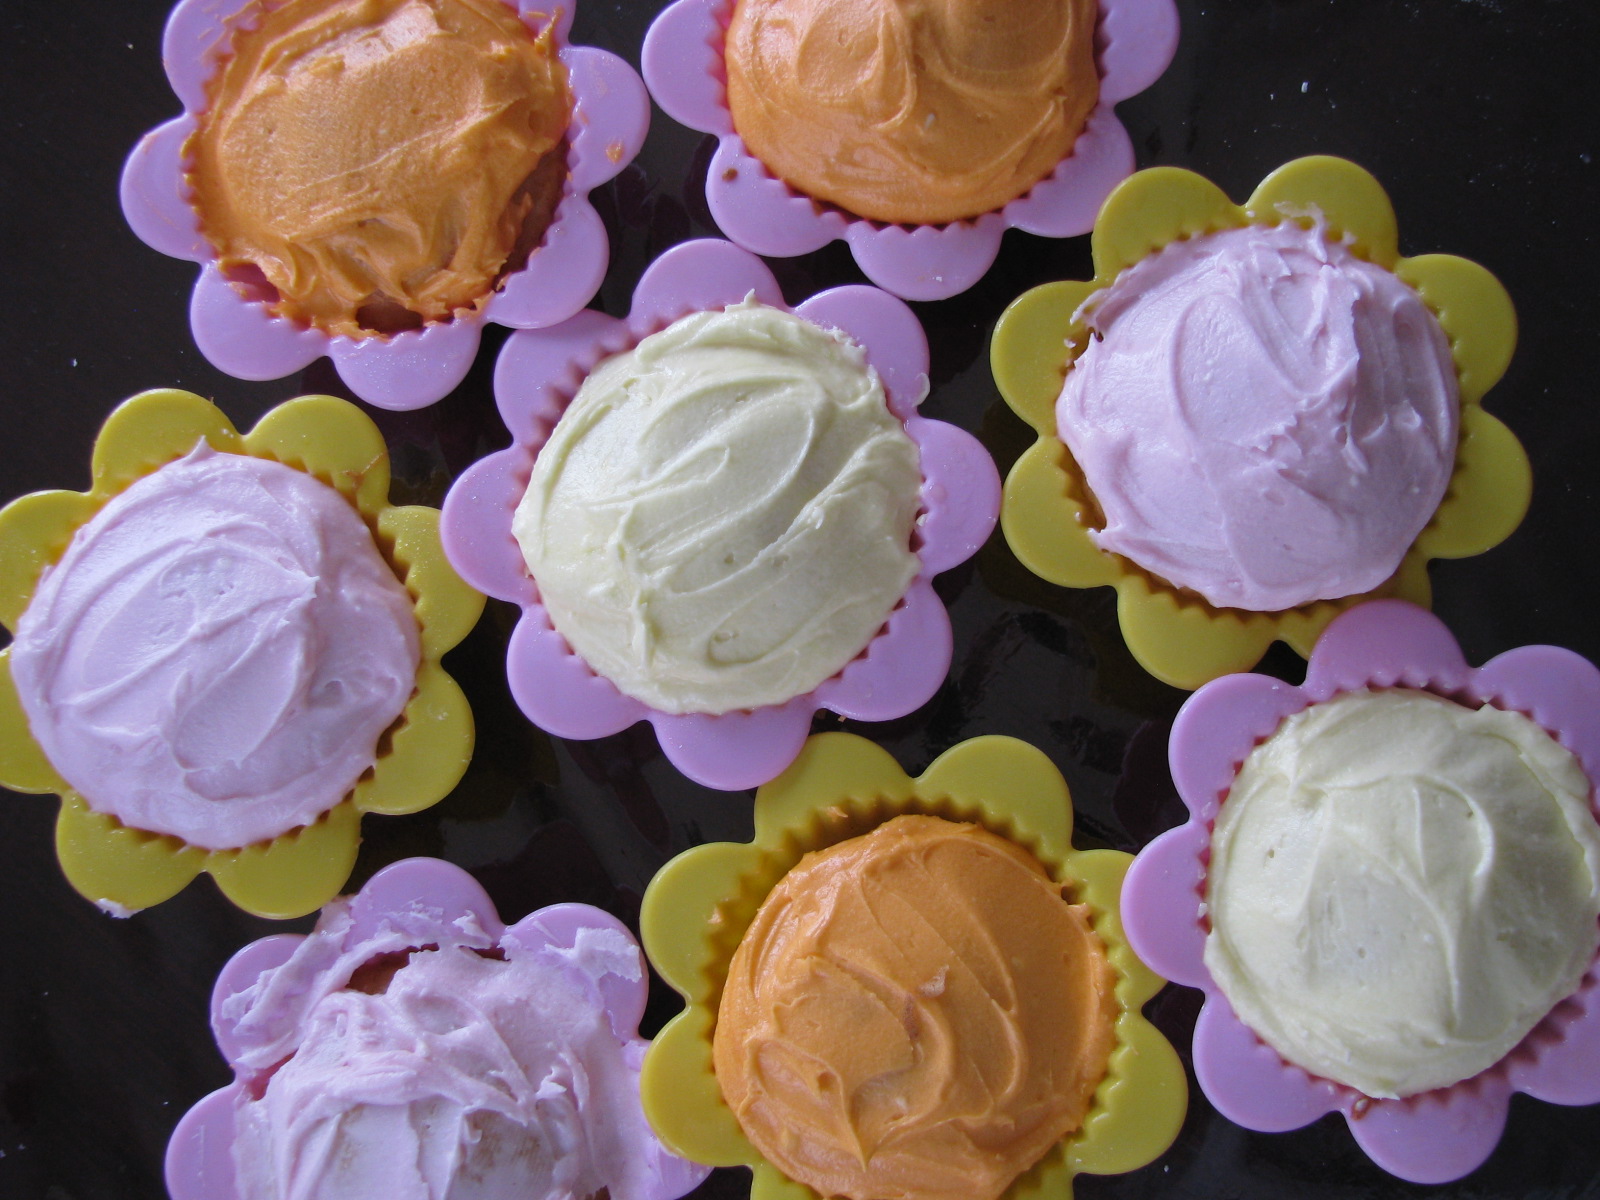
But look at these cute cupcakes! My mom bought these reusable silicone cupcake wrappers for my daughter last spring and we love them. It is such a fun and easy way to dress up a regular cupcake into a pretty springtime dessert. All you have to do is spread icing to be the 'center' of the flower. Bam. Done. If you wanted to get super fancy, you could also add some coloured sugar to be the 'pollen.' We made some to celebrate one of the first warm spring days we've had around here. It was short lived; today was cold and rainy. But at least we had cupcakes!

I found them for sale at amazon here, if you are interested.

Monday, April 25, 2011

Kite Matching

Here is a quick game I whipped up when we had an unexpected late spring snow storm not too long ago that foiled my plan to go fly a kite that day.
First, I took several different colours of construction paper and cut lots of diamond shapes of various sizes. (To make the game more challenging, you could use all one colour.) Then I used markers to draw simple patterns and designs on the kite shapes to make sure that no two kites were identical.


Then I snipped them in half, shuffled them up, and set them out all over the table.


To play, we took turns trying to find a match and putting the kites back together again.

Sunday, April 24, 2011

Egg Heads

To start this project, you need some empty egg shells. If you are a controlled cracker, crack the egg so that just the top is missing and the rest of the egg is intact. I wasn't sure I could do that, so I chose to blow my eggs. To do this, take a nail and make a small hole at the top and bottom of the egg.


Blow in one hole, and the yolk and white come out the other hole. I did the blowing, but my kids watched. They were fascinated and disgusted by this.


Then I was able to enlarge my hole to the size and form that I wanted it. Next, wash out your egg.


Make a fun little face on it. Isn't he cute? I just used crayons and googly eyes, but you could use your imagination and come up with something new.


Next, fill the egg shell, nearly to the top, with soil. (to hold the eggs up, I made a quick little collar for them with construction paper and scotch tape)


Sprinkle a layer of grass seed on top of your soil, then add just a little more soil on top.


Set it somewhere warm and sunny, like this window ledge, water it, and keep it moist.


This is what ours looked like on day 7. One week to have some funny, green haired little egg heads.


How fun, right?

Wednesday, April 20, 2011

Lamb Cupcakes

We went to a children's festival on the weekend, and there was a petting zoo. Petting zoos are always fun, but this one was extra special because since it is the middle of April, there were lots of new baby animals for the kids to hold. Baby chicks! Baby goats! Baby bunnies! Baby piglets! And even little white baby lambs! Adorable.

With that fresh in my mind, today we made some baby lamb cupcakes. The inspiration is from the Martha Stewart website. Here is how we did it:


*I mixed up my regular white cake recipe, and a batch of white icing.
*Then we spread the icing over the top of the cupcakes, as you normally would.

*We mad the lamb faces from chocolate chips, Martha used something else, but this is what I had in my kitchen. The eyes were made with the tips pointing down into the icing, and the nose was a chip on its side to make a triangle.
*The ears were large marshmallows cut in half on the diagonal and the wool was made from mini marshmallows. (I got to use up my leftovers from our Children's Book Club)


*The finished product. Isn't it cute?


*Of course, after they were decorated we all enjoyed one. It was funny to see how quickly he could 'shear' his sheep of it's marshmallow wool!

Tuesday, April 19, 2011

Spring Chick


To make a cute little baby chick, start by tracing an oval on a sheet of yellow construction paper, (or free-handing one if you are better than I am at that sort of thing).


Next have them trace, or help them trace, both their hands onto the yellow paper. If you are careful you will be able to get the oval and both hands on one page. Cut out all the shapes.


Using a small piece of orange paper, fold it in half and cut a triangle with the base on the fold. This will give you a beak that can open and close. Then cut two little clawed feet, also on orange paper. Glue on googly eyes, and feet, and beak.


Using small brads, (I happened to have yellow which worked out nicely) attach the hand prints to the sides of the oval to become the chick's wings.


Tape a couple of yellow feathers onto the bird's head, just to be cute.


Play with your new friend!
Related Posts Plugin for WordPress, Blogger...