My daughter just turned seven and we had so much fun at her Alice in Wonderland inspired party! I always have fun making little decorations and such to make things extra special, so I'll start by sharing a few of those.
Decorations and Details:
 I made a door-knob decoration for our front door to greet our guests as they arrived. I think this little guy might have been my favourite extra touch of the whole party. And he was made from nothing but a scrap of grey scrapbook paper, a black sharpie, and a little chalk. Love it.
 I made two of these sign posts. If we were doing this party outside and we had a nice big tree in the yard, I'm sure I would have just stapled them onto the tree. As it is, I used the cardboard tube from a roll of carpet as a sign post. (Just a tip, one of our local carpet stores will give you these for free. They are HUGE and strong, so keep your eyes open for ideas to use them) The second sign had arrows that read: BEWARE, THIS WAY, WRONG WAY, DOWN, and KEEP GOING.
 Mome Raths! Aren't they adorable? They were a snap to make. I just raided my kids' art supplies in our craft cupboard. Two colourful tongue depressors, fluffy feathers, and googly eyes. A dab of glue here, a dab there, and they were done. To make them stand up, I used paperclips that I unfolded the centers out from to make an L-shape. Then I hot-glue gunned them onto the backs, and it worked like a charm.
 Of course, they needed a sign to warn guests, "Don't Step on the Mome Raths"
 I got some artificial flowers at the dollar store, added some googly eyes and some little lips, and we had Wonderland's flower garden.
 I painted the Cheshire cat. The party just needed to have him.
 And he must sit perched up in a tree.
  And because nothing could be simpler, I set out a chess set on the top of a table.
  I knew I'd want to play croquet at the party, so I made these card soldiers from poster paper and duct-taped them onto the wickets that we would hit the balls through. I made five; three hearts, and two spades.
 And you can't play croquet at an Alice in Wonderland party with a regular old mallet! You simply must have a pink flamingo. To make these, I traced the mallet on a sheet of pink poster paper and then drew a flamingo shape that covered that area. I cut it out and used it as a template to make all these. Then to add details and definition, I used a lighter shade of pink craft paint for feathers and the beak, and used a black sharpie to outline them and make them stand out more. As a finishing touch, I added googly eyes and a tuft of pink and purple feathers on their heads. For the party, I just used tape (lots and lots and lots of tape!) up and down the length of the handles and pressed the flamingos on. I knew they wouldn't hold forever, but they made it through the croquet match, and that was all I needed.
Onto the party!
Activities and Games:
"Do you play croquet?"
 We started out by going into the yard and playing croquet. With her early March birthday, we have never had good enough weather to do any of her parties outside before. But we lucked out and had a beautiful sunny day. It was windy, however, so we did the croquet course first before the wind could destroy the cute decorations.
 Here are a few of the girls tapping their balls. Doesn't it look so cute??
Mad Hatter's Workshop:
 I made this little sign and attached it to a hat stand to help set the scene for our next activity.
 I topped it off with a cluster of brightly coloured hats, and tucked a playing card into the ribbon of my son's magic top hat for a little extra fun. (the 7 of hearts, since she was turning 7)
 I also had the ceiling dripping with paper lanterns of all different colours. I really wanted the Mad Hatter's shop to be bold and colourful.
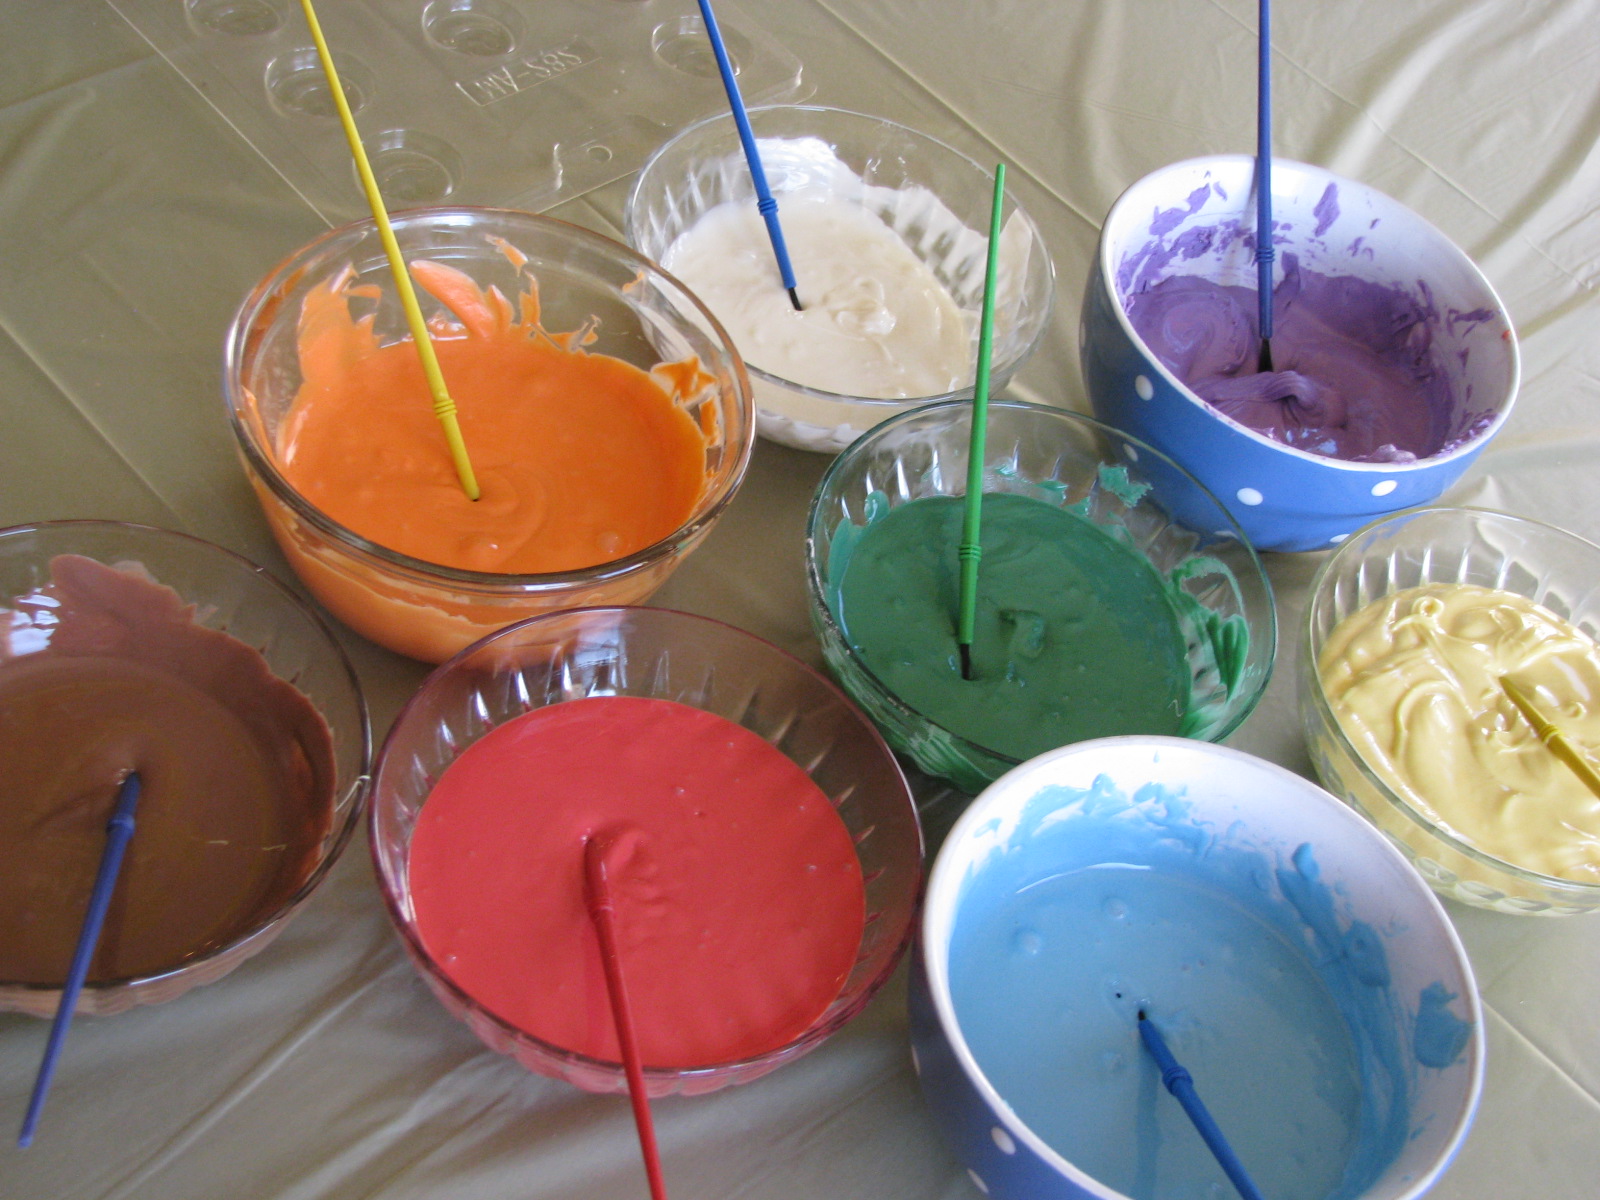
 I piled up the center of the table with ribbons, pom-pom strings, beads, sparkly gems, flowers, lace, and anything else I could think of. Then each guest was given a bright glittery bowler hat and turned loose to decorate it as they would.
 The creations that came out of the workshop were as wild as anything the Hatter himself could have come up with!
After the kids had finished, they each had their picture taken beside the Cheshire cat in his tree. And while they did their little photo shoot, I set up the kitchen for our next activity.
Mad Hatter's Tea Party:
 A tea in Wonderland simply must include 'eat me' cookies.
 A tea in Wonderland simply must include 'eat me' cookies.
 I also made these Rice Krispie soldiers. All I did was make their faces from construction paper and tape them at the top of a toothpick. Then after the squares were cut, I pressed the toothpick down the center to create a head on a body. A little red icing in a piping bag for the hearts and numbers, and we were done.
 I made a flock of pink flamingo cupcakes.
 And I saw these great skewers with pinwheels on the end at the dollar store and loved them. They seemed quirky enough to join us for a Mad Hatter tea.
 I made a chess board of little sandwiches. You can't really tell in the picture, which is a shame, but the sandwiches alternate with white bread and brown bread to create the board. Then I topped them off with a grape tomato or a black olive on a toothpick featuring a suit of cards decal on top. I thought it turned out really well.
 I didn't serve tea. I did serve four different kinds of kid-friendly beverages though (juices and koolaid). I also borrowed tea sets and tea pots from a couple of people so there would be a variety of sizes and patterns all around too. It was so fun! We had full-sized standard cups, medium sized (that would hold maybe about 1/4 cup of liquid) and then there was a set that had cups the size of thimbles. I loved it! I also had a great big teapot, a middle sized one, a few smaller ones, and a teeny-tiny one to match the thimble sized cups. All the teapots were filled up, so the kids were pouring their drinks from every size. It was so silly and they had so much fun with it.
 And as a final touch, we had a little dormouse nesting in a creamer.
 Here are the party guests, hats on, and tea partying at the Mad Hatter's.
Off With His Head!
 In this game, I made a card soldier's body and taped it onto my daughter's art easel so that the shoulders were right at the top. Then I made a head for him, and attached it to a container. The container was set on top of the easel, and then the kids were given beanbags. When they took their turn throwing the bean bag, they had to shout "Off with his head!" It was a total hit. I loved it.
Alice in Wonderland Trivia Game:
 For this activity, I got an end table and set it in the middle of the room, and put the buzzer from Taboo in the center.We divided the kids into two groups, (Team Alice and Team Queen) and then we had them face off in pairs. Two kids would stand on either end of the table with their hands behind their backs. I would read a trivia question, and the first one to 'buzz in' got to answer. It was so fun. I'd never done something like that at a party before. I kept the questions pretty basic in case not everyone there was super familiar with the story. Examples of questions I used were, "What happened to Alice when she ate the 'eat me' cookies?" (she grew) "How did Alice get to Wonderland?" (she fell down the rabbit hole)
Card Toss:
No pictures here, I'm afraid. The girls were each given 10 cards and they had to try to toss them into a top hat.
Games and Activities I had, but didn't do:
I always have too many plans for my parties. I could make the party longer, I know, but I think that once parties get to be more than 2.5 hours or so, the kids start to get tired and things just aren't as fun. I want them to go home thinking 'wow, I had so much fun' instead of 'I can finally get out of here.'
That being said, here are some ideas you can use if you want to do a party:
1. Tweedle-Dee and Tweedle-Dum race: a three legged race based on the fact that these twins stick together
2. Painting the roses red: This was my first idea when I started planning the party, and I'm so disapointed we didn't get to it! I had artificial white roses, and red paints, and paint brushes at the ready. Drat!
3. White rabbit sack race - rabbits hop, and the white rabbit is in a hurry, so why not make it into a game?
4. Pin the smile on the Cheshire cat - a themed twist on the party classic.
Cake at the Queen's Banquet Hall:
Cake at the Queen's Banquet Hall:
Since her birthday is so soon after Valentine's Day, I thought I'd shop the clearance sales for heart-shaped supplies and have some fun creating a Queen of Hearts theme at the party.
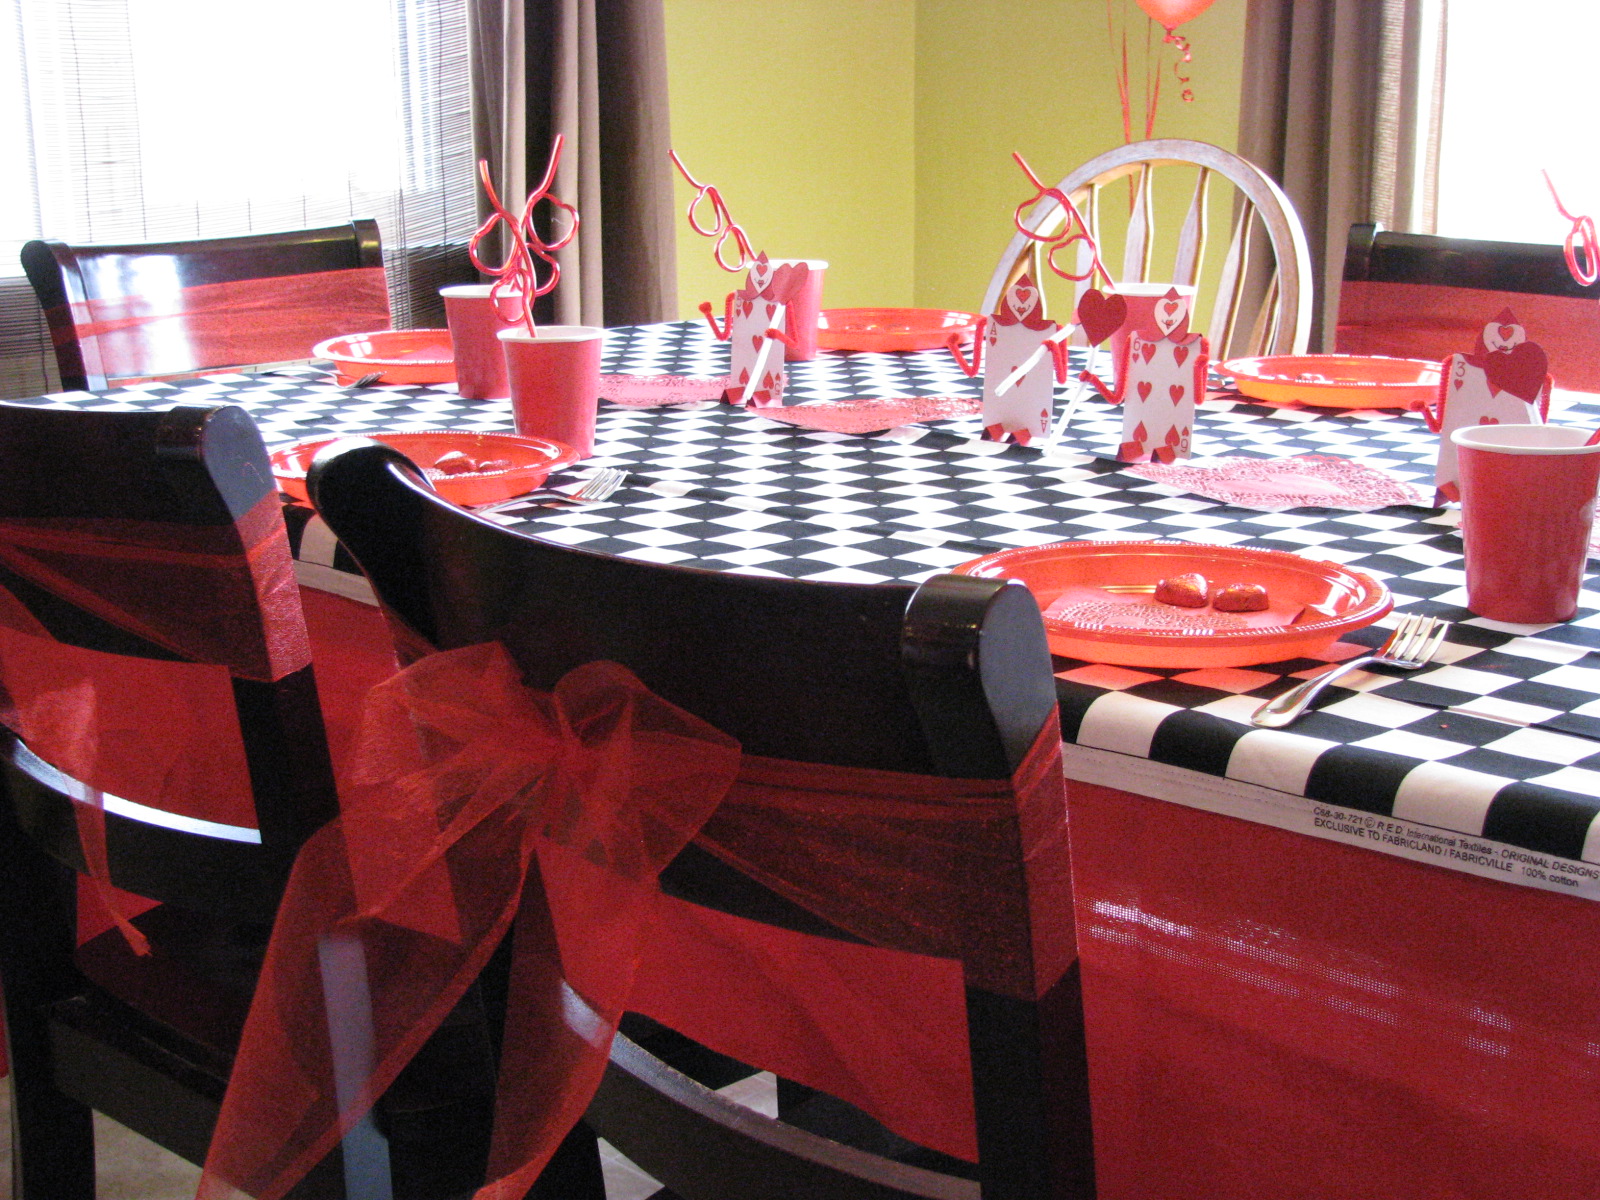 To start out, I borrowed my mom's long red tablecloth which went almost to the floor. Very glamorous and royal. Then I got a length of black and white checkered cloth and ran it down the center of the table. To make things fancy, I used three spools of gauzey ribbon and tied each chair in a big red bow.
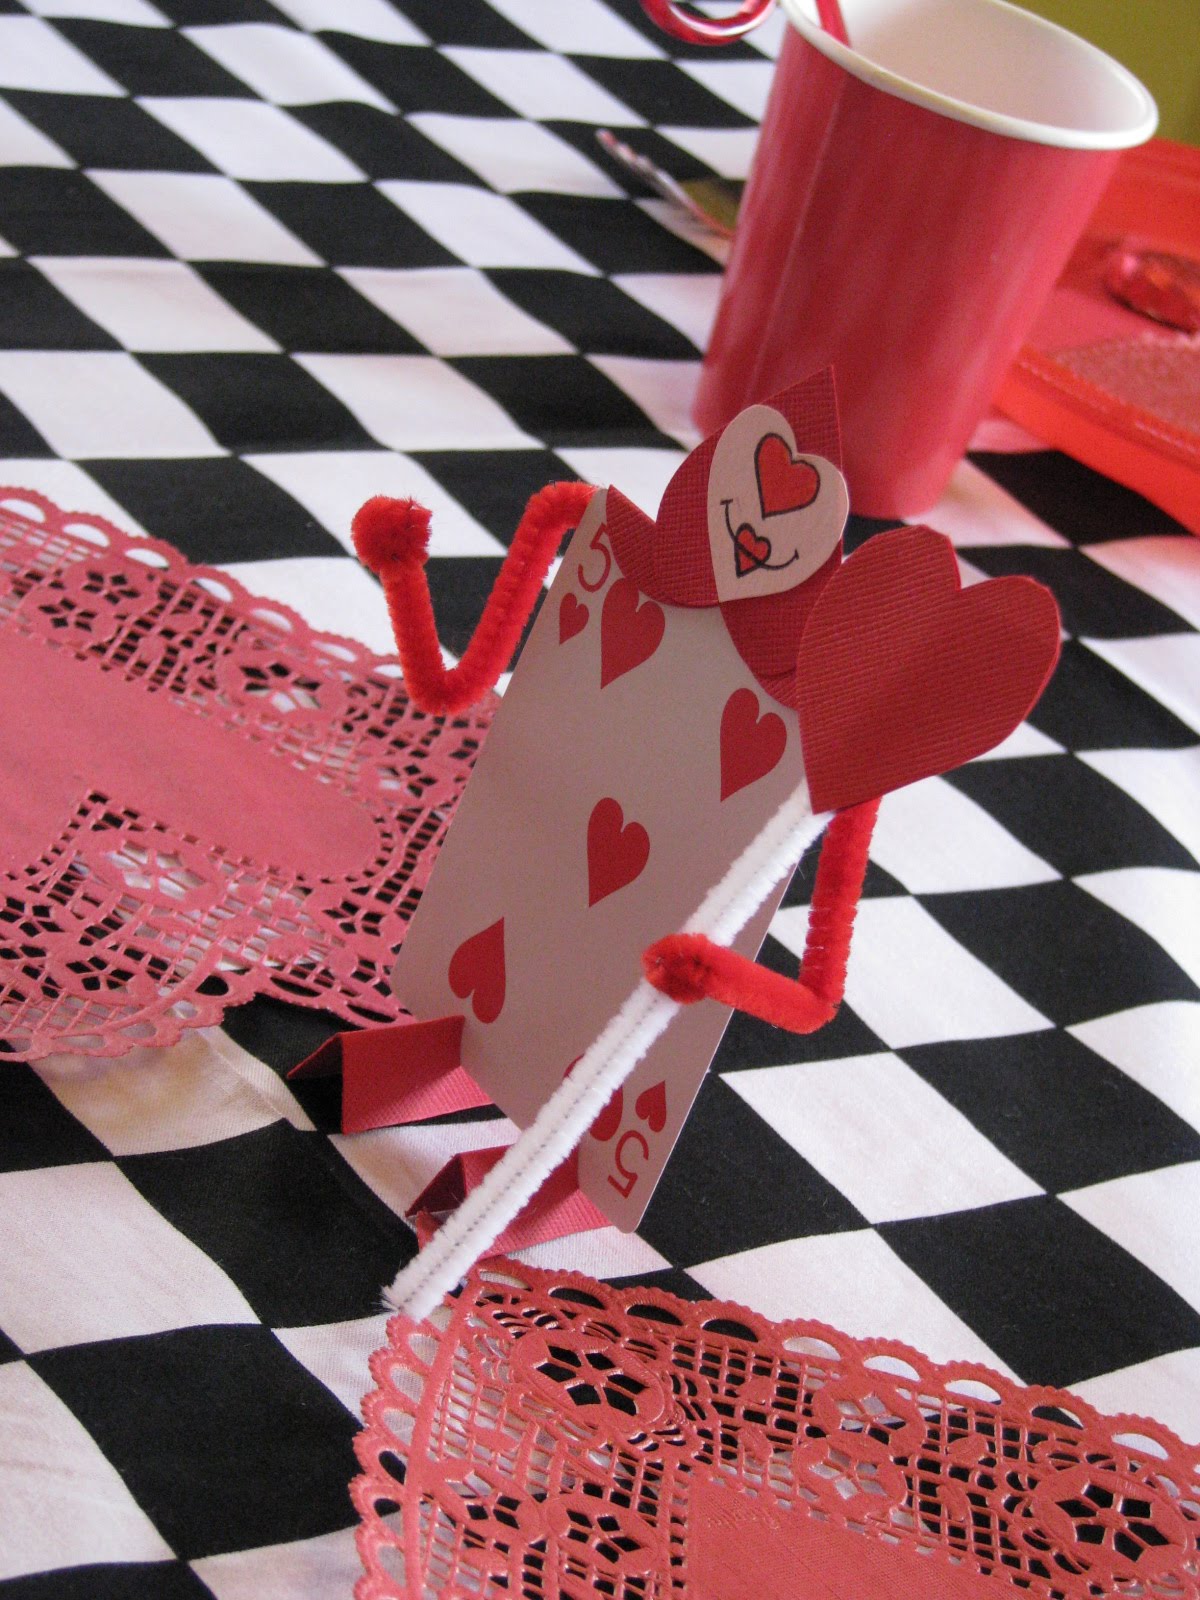 I had red heart doilies running down the middle of the checked cloth, and between each was a home made card guard. (I also made these guys and used them as the invites for the party; I just wrote the information on the back of their capes) I loved these guys. I found them here, where they were actually used as Valentines, but I thought they'd be perfect for this party.
 I found an over-sized deck of cards at the dollar store, which made a very quick garland. I made two and draped one on each of our dining room windows.
I took down all the coloured lanterns that were there for the Hatter, and left up only the red. I also swapped out the hat stand and put clumps of red heart-shaped balloons in each corner.
 I used red plates, cups, and napkins, and had a doilie place marker for each girl. Then I added two heart chocolates to each setting, again taking advantage of the post-Valentine's sales.
 One last thing I found were these cute double heart straws. The kids loved them.
The cake! I looked around on Google images for 'Alice in Wonderland cakes' and saw lots of fun ideas, but I loved the idea of making a Cheshire cat. I did my best, and thought it turned out pretty cute. I had no idea how I was supposed to make the head shape though, so I asked my friend who is a brilliant cake maker and she suggested that I just make the shape from Rice Krispie treats and then frost it like I would a cake. It was such a great tip, and worked out so well. So yes, the cat's head is a giant Rice Krispie treat. I even found pink and purple candles that I put on it's back in an alternating pattern - just like his stripes. Ha!
 Since Alice spends a good deal of her time in Wonderland searching for the white rabbit, I made a treasure hunt with clues that sent the kids all over our house trying to find him.
 When they followed the final clue, it led them to a white rabbit pinata! (When I asked her what kind of pinata she wanted for this party, she said she wanted "the white rabbit, but not when he is wearing regular clothes - when he is dressed up to work for the Queen." This was my attempt to recreate that look) I made the ruff from white card stock that I folded accordion style and then stretched and glue gunned into place. His face is made from blue googly eyes, two white pom poms, one pink pom pom, and craft wire for the wiskers.
 Then we took him outside and the kids all had turns swinging at him until he burst open and the candy flew out.
Presents Time:
 We played spin-the-bottle to determine which guest got to give their gift next. But we didn't just use any old bottle, we used a 'Drink Me' bottle.
The Take-home Gift:
 I went to the craft store for something unrelated, and when I walked in, they had a table set up right at the entrance with glassware they weren't going to keep carrying. And there they were! The perfect Drink Me bottles! For a dollar! I bought one per child, and when I got home I set to work making little labels and tying them on with ribbons.
 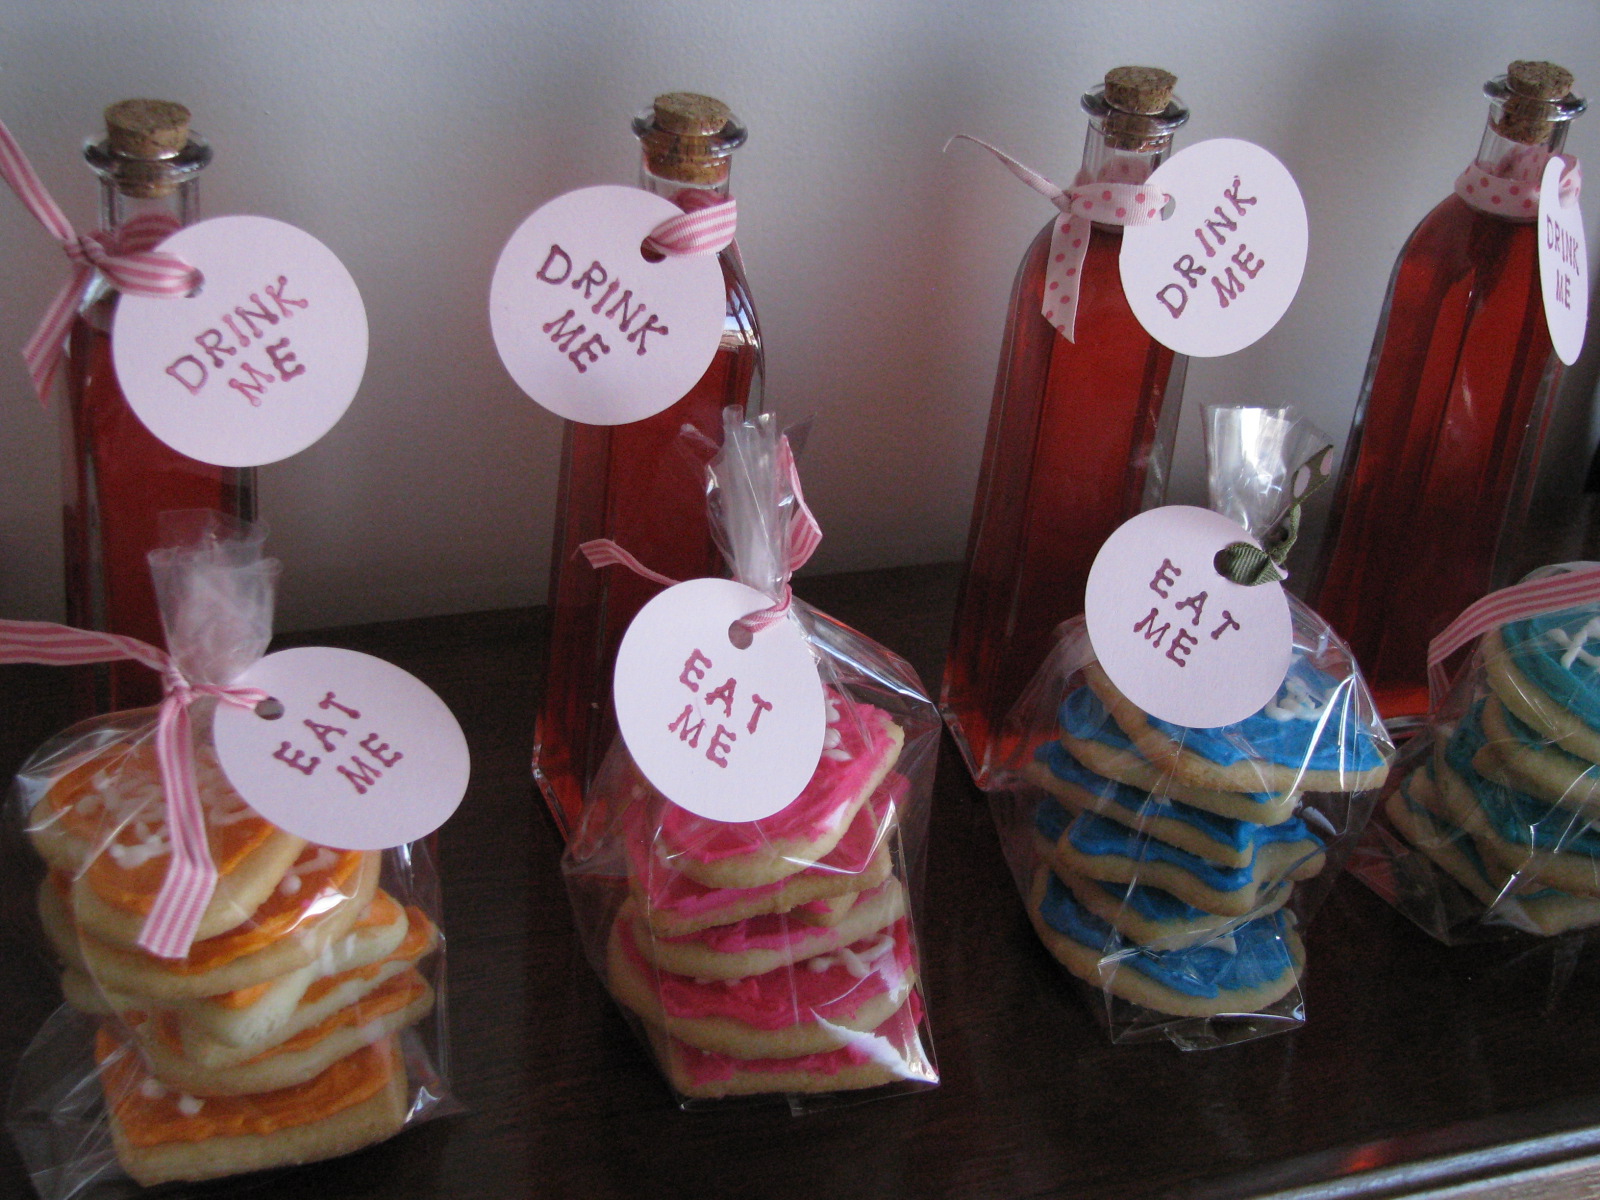 Each guest left with a bottle of Drink Me juice, and a bag of Eat Me cookies. I thought they turned out so fun.
And that was how we celebrated. I loved it, she loved it, and we had a great day.