The book is about a little girl who is in art class, doesn't feel she has any abilities, and therefore refuses to participate. In a moment of frustration, she slams her marker on her paper, makes a dot, and hands it in to her teacher, who then frames it. Her confidence builds, and she explores her new talent, finding different ways to paint with dots. It is seriously great.
A cheerful place to celebrate the wonder of childhood, and the joy of motherhood
Showing posts with label Arts and Crafts. Show all posts
Saturday, February 11, 2012
Family Literacy Day - The Dot
Friday, February 3, 2012
Groundhog's Day Mask
We had fun making a groundhog mask during our 'Special Time' yesterday afternoon.
We used two small paper plates, (one for him and one for me) and painted them with light brown craft paint.
After the light brown was dry, we used dark brown paint and a small paintbrush to create noses, whiskers and mouths on our groundhogs, and used glue and googly eyes to finish of their faces.
Then I used a hole punch and some kitchen string to make them into masks we could wear. (This groundhog is mine. Are you amazed by my mad skills?)
Just a little activity to mark the day, but we had fun being together.
Monday, January 30, 2012
Q-tip Polka-dot Painting
Winter months involve lots of crafting and art projects around here. We recently had fun with some 'polka-dot' painting.
When we do this activity, I use Q-tips and have one for each colour, since they don't rinse off well to move into another paint pot.
Thursday, January 19, 2012
Egg Carton Dragon
It is nearly Chinese New Years, and it is going to be the year of the dragon. How fun! My boys think this is especially exciting, so during the afternoon when my two youngest were napping, and my two oldest were at school, I took the chance to have some fun with my preschooler.
We let it dry and then he got to decide how he wanted to decorate the dragon's body. He chose yellow polka-dots.
The final cup we placed with the open end to the front to be the open mouth of the dragon. We used tape to hold it in place.
Finished! It was fun to watch him move it around the table. The linked body segments let the dragon move more like the Chinese dragons at the New Year's Celebrations.
Then we added googly eyes, and pulled the cotton ball thin to add a wispy beard around the edge.
Very Fun!
Saturday, December 10, 2011
Class Gift - Candy Cane Mice
I am having so much fun making little crafts for my children's classmates. Hooray for Christmas!
These treats are gingerbread flavoured. I found squares of felt in two tones of brown, and a dark red, and used those to make my critters. The dark brown mice are my favourites. SO cute.
These candy canes are watermelon, and cherry candy flavours. For watermelon I used green and pink felt, and the cherry are in white and pink. My boy has decided that these ones must be for the girls in his class.
My kids like to look through my old Martha Stewart Kids magazines (I miss that magazine. It was awesome) and they some cute little felt mice and asked if we could make some. Of course we can! Here are the online instructions if you want to make some yourself. I altered mine a bit. I used pinking shears since I thought it would be cute, and used googly eyes and a pompom nose instead of little felt dots. Up to you for your own. another little add-on I did was to tie a matching ribbon around the tails, which was such an adorable final touch. It also served to attach the gift tags.
We bought some different flavoured candy canes at Walmart, (my kids don't really like the traditional mint kind) and then bought felt that matched them.
Anyway, they were a snap to make, and didn't take any sewing. Just a little white glue. I did the cutting and assembling, and my son was the official gluer for the eyes and noses.
Gotta love a craft where you can crank out enough for all the kids in the class in a couple of hours.
Wednesday, November 30, 2011
Christmas Advent Calendars - Part Four
This is the last one I'll post - I promise. If you don't have the same love of advent calendars as I do, I'm sure the last several posts have been very boring for you!
This one is a Craft Advent Calendar.
In previous years, I've done one where you have a Santa face and on each day leading up to Christmas you glue another cotton ball onto his beard, and one where you make a simple ornament each day to hang on the tree. Both were fun and worth trying.
But this year I saw this idea on Pinterest, and thought it was great. She had made a small Santa face with the numbers 1-24 on his beard, and on each day you got to snip a bit of his beard away.
I kept the same concept, but changed the design a little.
Thursday, November 3, 2011
Children's Book Club: The Halloween Edition
It was our turn to host Children's Book Club again this month, and with the date landing on Halloween morning, we simply had to go with that for our little theme!
We got two Halloween books from the library, and my guy liked the both so well that 10 minutes before we were due to start, he still didn't know which one he wanted to highlight. We ended up reading both. The first was The Halloween Kid, and it reads like a western. In it, the hero saves Halloween from some candy-eating goblins. The other was Franklin's Halloween. It was fine, but not very original; Franklin books tend to run together. But since my kids always like Franklin, they loved it.
For our craft we made these cute ghosties. Just strip off the socks, brush the bottoms of their feet with white paint, and step down on some black construction paper. We tried adding the googly eyes while the paint was wet, but it didn't stick well, and we ended up using a drop of white glue instead.
We also played a game of Musical Pumpkins. It is just like traditional musical chairs, but instead of the kids having to find a seat, they have to grab a mini pumpkin when the music stops. We used the song, "This is Halloween" from the Nightmare before Christmas, which is my kids' favourite Halloween song this year. Pictured are the two finalists battling it out for first place.
Snack time! I just served water as the drink, (I figured they'd be getting enough sweets that day) but made it festive in these cute pumpkin cups I got a the dollar store a couple years ago. I also have some Frankenstein ones, but they seem to be more popular with boys than girls.
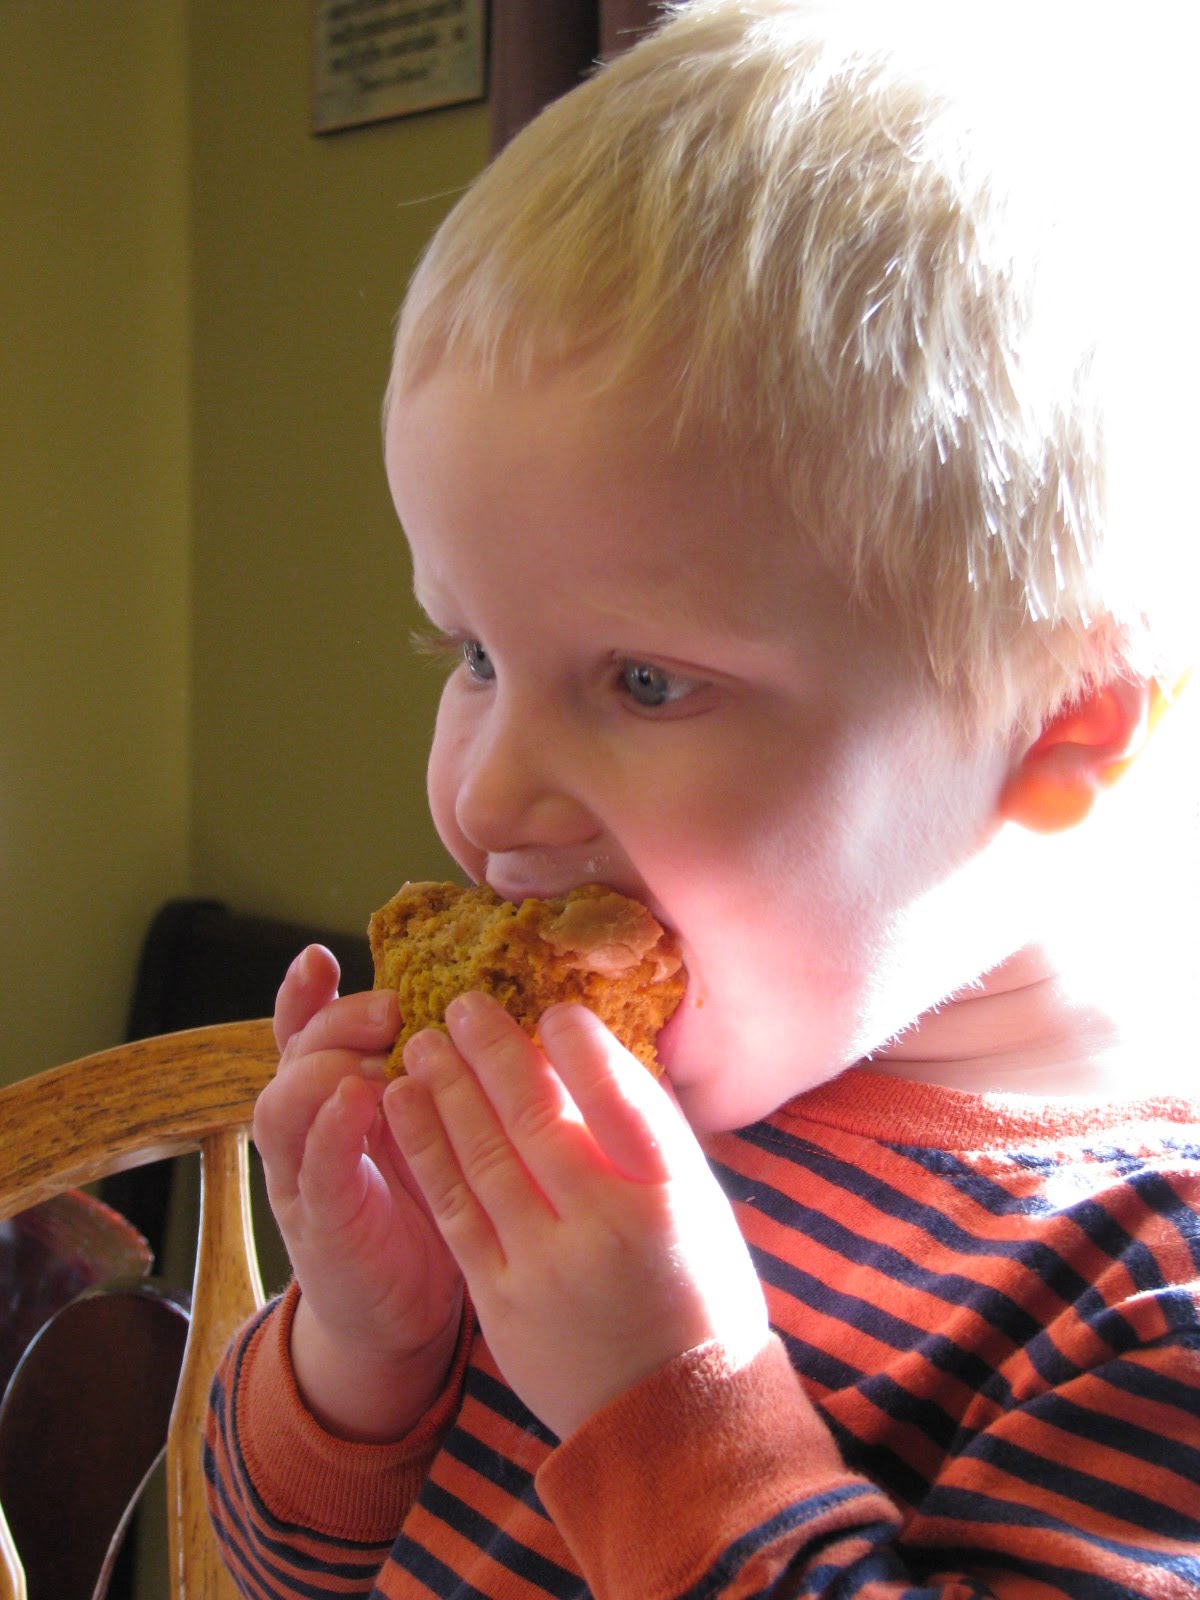
And to eat, I served those yummy pumpkin muffins, but I'll call them cupcakes since I added that delicious frosting. They were gobbled up very quickly. Look, even my two-year-old is eating the healthy part! They really are that good.
It was a fun morning, and got us into the spirit of the day.
Monday, August 22, 2011
Tornado in a Bottle
This happened again in our home today.
He read a book about tornadoes, (which both fascinated and frightened him) and in the back it had instructions for how to make your own mini-tornado in a bottle. Of course, he ran down to the basement and riffled through the recycling immediately to get the required materials.
It was quick and easy, and he loved it. So I thought I'd pass it on.
You need:
-two 1L (or larger) plastic bottles. Clear is best so you can see
-water
-food colouring (optional)
-duct tape
Fill one bottle about half-way with water, add food colouring if you want. Tape the other bottle to the first so that the spouts line up. Use lots of tape to make it strong. Tip the bottles upside down and swirl them in a counter-clockwise motion for a second or two. Then stop and watch the tornado funnel appear inside the bottle.
Saturday, July 30, 2011
Children's Book Club - The Giving Tree
He chose a classic book: The Giving Tree, by Shel Silverstein. It is the story of a tree who loves a boy and through his life, finds ways to give of herself to make him happy. Beautiful.
It was lots of fun to get together with the other kids and gave them a chance to get together, where in the summer, those can be hard to find.
Friday, June 17, 2011
Quilt Patterns
During our Letter of the Week for Q, we had a Q is for Quilts day, and one of the activities we did was to create some little quilts for our dolls and animals. It was really great, and was a good learning activity.
We are lucky enough to have real, hand made quilts on all our beds, thanks to some very talented grandmothers and great grandmothers. And before we started making our quilts, we looked at them all and saw how they all had patterns. Some had patterns of shapes, some of colours, some of stitches, some had all three.
Then I brought out some felt shapes I had cut out from all different colours and then talked about how to make patterns of our own.
The kids set out their own patterns on their fabric and really came up with some creative ways to arrange their quilts.
They did patterns of alternating colours, or of shapes, or even of the way they had the same shape oriented.
Then, once they had gotten all their rows finished the way they wanted, I brought out the glue and they assembled their quilts.
We are lucky enough to have real, hand made quilts on all our beds, thanks to some very talented grandmothers and great grandmothers. And before we started making our quilts, we looked at them all and saw how they all had patterns. Some had patterns of shapes, some of colours, some of stitches, some had all three.
Then I brought out some felt shapes I had cut out from all different colours and then talked about how to make patterns of our own.
After the glue had dried, they wrapped up their toys and tucked them in for a nap. Loved it.
Tuesday, June 14, 2011
Father's Day Banner
Wednesday, May 25, 2011
Letter Of The Week - N
The letter N was next in line, and we had a good time with it.
Day One:
We made our letter page for our binder, and this time we decorated it with nuts. It was funny that he first wanted to do all the dots of glue and then put on all the nuts. His usual pattern has been dot the glue, attach the craft, dot the glue, attach the craft, but not this time!
I usually have him hold up the letter once it is finished so I can get a good picture of him with it, but with the glue still wet and the nuts rather large, I was sure that they would all fall off if he tried to hold it upright.
Our alphabet book this week was Alphabetter, and it was adorable. Each page has a child who wants to do something, but can't because they are missing something. For example, Alberto had an alligator, but he didn't have a bathing suit. BenoƮt had a bathing suit, but he didn't have a clarinet. I'm sure you can figure out what Cara has. It was funny. Of course at the end, the kids all pass their items to the child before, and everyone has what they need.
Day Two: N is for Nursery Rhymes
*We read the Scott Gustafson collection of nursery rhymes. They are so beautifully illustrated! Just beautiful!
*We played Jack Be Nimble. I set out a candle and candle stick on our floor, and then we all took turns jumping over, and inventing new challenges for the next player. For example, we jumped forwards, backwards, sideways, we did a jump/spin, one foot, eyes closed, etc. This game was a bigger hit than I had anticipated. Awesome.
*We played Pat-a-Cake. (over and over and over)
*We painted our hands black and made some creepy spiders
(think Little Miss Muffet)
*We gave each other clues and had the other person guess which nursery rhyme it was. For example, 'I sit on a wall, I got broken, they couldn't fix me, who am I?' Humpty Dumpty!
Day Three: N is for Noodles
*We, of course, at noodles for lunch
*We played the Mr. Noodle game
*Read Cloudy With a Chance of Meatballs
*Sang "On Top of Spaghetti"
*We made noodle necklaces:
I wanted to dye the noodles to make them more fun to work with, so I tried, and it kind of worked, but I think that if I try again some time, I'll go and buy white pasta instead of using our whole wheat. The colours didn't show up as nicely as I would have liked. That being said, here is how I dyed the noodles:
-we scooped about 1/2 cup of noodles into four different ziplock baggies, and added a tablespoon of rubbing alcohol and 5-6 drops of food colouring to each. We zipped them shut and shook them up.
-Then we dumped out the noodles onto a cookie sheet and left them to dry.
-We threaded them on a string, and created the necklaces.
(My guy didn't want to wear his. He put it in his room, and then on Mother's Day, he pulled it out and brought it to me as a gift. So Sweet!!!)
*We printed out clip art of vegetables and coloured them, then we assembled our own Aiken Drum man and sang the song again using the veggies we had instead of the original lyrics.
Day One:
We made our letter page for our binder, and this time we decorated it with nuts. It was funny that he first wanted to do all the dots of glue and then put on all the nuts. His usual pattern has been dot the glue, attach the craft, dot the glue, attach the craft, but not this time!
Our alphabet book this week was Alphabetter, and it was adorable. Each page has a child who wants to do something, but can't because they are missing something. For example, Alberto had an alligator, but he didn't have a bathing suit. BenoƮt had a bathing suit, but he didn't have a clarinet. I'm sure you can figure out what Cara has. It was funny. Of course at the end, the kids all pass their items to the child before, and everyone has what they need.
Day Two: N is for Nursery Rhymes
*We read the Scott Gustafson collection of nursery rhymes. They are so beautifully illustrated! Just beautiful!
*We played Pat-a-Cake. (over and over and over)
*We gave each other clues and had the other person guess which nursery rhyme it was. For example, 'I sit on a wall, I got broken, they couldn't fix me, who am I?' Humpty Dumpty!
Day Three: N is for Noodles
*We, of course, at noodles for lunch
*We played the Mr. Noodle game
*Read Cloudy With a Chance of Meatballs
*Sang "On Top of Spaghetti"
*We made noodle necklaces:
Day Four: N is for Nutrition
Subscribe to:
Posts (Atom)