Showing posts with label Halloween. Show all posts

Monday, October 31, 2011

The Carve-less Jack-O-Lantern

My in-laws have a great garden. It is huge, and year after year, it produces amazing amounts of produce. This year they grew pumpkins, and let all their grandkids choose one to bring home.

My daughter chose a very cute, perfectly round, and brilliantly orange one. She played with it like a doll. I'm not even kidding. The pumpkin got tucked in at night.

When it was Halloween, and the time came to carve them, she just didn't have the heart to cut and gut her little friend. But, she still wanted it to be a jack-o-lantern. Hmm.....
My brilliant idea? Mr. Potato Head accessories! She was so excited about this, and so happy that she didn't have to cut her pumpkin open. She dashed downstairs to the play room, and brought up our container of pieces from that toy. She dug through carefully, finding the exact right features for her pumpkin.


She held the pumpkin steady for me as I used a screwdriver to puncture it with appropriately spaced holes.


And she got to work assembling it.


Success! Isn't it cute? She was so proud of it, and it made her soooo happy. I am certain that she will choose to do this again. (And hey - one less pumpkin to scrape out was a good selling point for me!)

Saturday, October 29, 2011

Franken-Pops

We had such fun making the Candy Corn Marshmallow Pops, that I thought we'd give another project a go. This time we made spooky Franken-Pops!

This time, you'll need a few more supplies, but nothing too major. Waxed paper, lollipop sticks, large marshmallows, green chocolate wafers, a handful of mini marshmallows, chocolate sprinkles, and a food-writer pen.


While you have the chocolate melting in a double boiler, or in your microwave (stirring once every minute!) poke the sticks into the marshmallows, and line them up on a sheet of waxed paper.


Roll the marshmallow in the melted green chocolate until it is covered. Try to roll it smoothly so it has a nice finish. Wipe off any access at the top.


Dip the covered marshmallow into the sprinkles (this will be the hair).


Cut the mini marshmallows in half, and when chocolate is semi-set, stick the marshmallows on to be the eyes.


At this point, your treat will look something like this. Leave them set on the waxed paper until they are COMPLETELY dry.


Use the food-pen to draw the centers of the eyes, the face, and any scars you want to add to your monster.


And there you have it! Very cute, and my kids just loved them. (My oldest two were a little peeved that we made this while they were at school. But they forgave me when I let them eat one)

Thursday, October 27, 2011

Best Pumpkin Cupcakes

Technically, these are muffins. But I added frosting, so I think that officially marks the end of Muffin Territory, and brings you straight into Cupcake Land.

I've got to say, if I had just read this recipe, I never would have tried it. I don't do that whole 'healthy living' thing that often, and anything that calls for bran qualifies. But these really are fantastic. I definitely prefer them to the Pumpkin Muffin recipe I already posted, but these are a little more time consuming.

I got the recipe from a Joy School mom. This is what she made her dinosaur cake with that was so delicious.


Muffins:

1 1/2 cups flour
1/2 cup oat bran
2 teaspoons baking powder
2 teaspoons pumpkin pie spice
1 teaspoon baking soda
1/2 teaspoon salt
1 cup canned pumpkin
1/2 cup finely grated carrots
1/2 cup buttermilk
1/2 cup honey
1/4 cup butter or margarine, melted
1 egg
1 teaspoon vanilla
1 teaspoon orange zest
1/2 cup chopped walnuts (optional)

Preheat your oven to 375, and spray your muffin tin with non-stick spray. In a large bowl, combine first six ingredients and mix to combine. In a separate bowl, combine remaining ingredients and mix well. Add the wet ingredients to the first bowl, and stir until it is all moist. (The batter will be thick). Spoon into muffin cups, and bake 20 minutes, or until a toothpick comes out clean. Remove the muffins to a wire rack and let cool completely before frosting.

Butterscotch Icing (I have to say, this icing is really what makes these so fabulous!)

1 cup brown sugar
1/2 cup butter
1/4 cup milk
1/2 teaspoon vanilla
about 2 cups icing sugar
Mix brown sugar and butter in a medium saucepan. Cook over medium heat until sugar is dissolved. Bring to a boil, and cook 2 more minutes. Add the milk, stir until it comes back to a boil. Remove from heat, cool to lukewarm, add vanilla. Gradually add icing sugar until it is a consistency you like.


Gently hold the muffin and dip the top in the icing. As you lift it from the pan, give it a little swirl. Let the icing set. Add a decorative topper, if you want.

ENJOY!

Friday, October 21, 2011

Ghost Lollipops

I'm sure I saw these years ago in a magazine. Martha Stewart Kids, maybe? Anyway, however they came into my life, we are all happy they did!

Very basic list of supplies: bag of white chocolate chips, a few regular chocolate chips, lollipop sticks, and waxed paper.

First, melt the white chocolate. I use my microwave one minute at a time, stirring in between. You can also use your double boiler, but that is slower.

Spoon out a bit of white chocolate onto waxed paper, and shape it into a ghost with the back of the spoon.

Insert a lollipop stick into the ghost, and twirl it a bit to get it coated in chocolate all the way. (If you don't the stick won't really stay in and you'll lose your treat.)

Add brown chocolate chips for eyes.

Now just wait for them to dry. Ours were taking forever to set, so I popped them in the freezer, and they were ready in about 5 or ten minutes after that.

I found that my bag of chocolate chips made exactly 18 pops, if you are trying to figure out numbers.

Peel it off the waxed paper, and you've got a very tasty spook ready to eat.

Wednesday, October 19, 2011

Ghost Cups Bowling

Several years ago, (five, maybe?) a good friend of mine threw a Halloween themed party for her little birthday boy. He was still really small, so all the games were very easy and light. One that she did we have brought into our own home and we play it every Halloween.

It might have a real name, but we just call it 'Ghost Cups.' To make our own set, I bought a package of white paper cups, and drew ghost faces on each with a Sharpie marker.

To play, you just stack them up into a tower,

Hand your kids a bean bag, (look how excited my guy is that it is finally his turn!)

And see how many you can whack down!

Simple and fun. And making it more challenging for older kids is very doable. Maybe they have to stand farther away, do it blindfolded, use their non-dominant hand, stand on one foot, etc. Lots of ways to go with it.

Monday, October 17, 2011

Candy Corn Marshmallow Pops

As you may recall, I have a bit of a love affair with candy corn. Last fall I used them for Turkey Treats, Halloween Jello, cute cupcakes, and inspiration for tissue paper puffs.

I think it is safe to say, I find candy corn adorable. (funnily enough, I love the look of candy corn, but I don't actually like the taste of it. Ha!)

So this year, in an effort to find another fun way to use my favorite fall motif, we made candy corn marshmallow pops. So easy, so fun, so cute. (And so yummy!)

What you need: waxed paper, yellow chocolate melts, orange chocolate melts, jumbo marshmallows, and lollipop sticks.

Step 1: Insert the sticks into the marshmallows.

Step 2: Melt the chocolates. I did it in my microwave by heating them up 1 minute at a time, and stirring in between. You can also use a double boiler on your stove if you'd rather.

Step 3: Dip the marshmallow into the first colour until there is just a ridge of white left at the top around the stick. Let the extra trail off so you don't end up with a big 'blob' of chocolate at the bottom. Place it down on your waxed paper.

Step 4: Repeat, repeat, repeat. Let the chocolate dry before moving on.

Step 5: Dip in the second colour of chocolate, leaving a band of the first visible. Just like before, let the excess trail off before you put it on the waxed paper.

Step 6: Repeat, repeat, repeat.

When you are done, and they have dried, they will look like adorable little candy corns! How cute, right? Except....for all my love of the candy corn, I made a mistake and switched the order of the colours. To make it like a REAL candy corn, you need the yellow on the bottom and the orange in the middle. Oops! I was so annoyed with myself when I realized what I had done. But, on the upside, they are just as sweet as they would have been otherwise.

This whole project was probably about 30 minutes, including the drying times, so it isn't something you need to book an entire afternoon off for. Enjoy!

Saturday, October 8, 2011

Pumpkin Muffins

I was feeling festive when I woke up, so we tried a new muffin for breakfast today. It was easy and quick, and to be honest, tasted better than I had really expected them to.

Recipe from Company's Coming, 'muffins and more'

In a large bowl, combine 1 1/2 cups flour, 1 teaspoon baking powder, 1 teaspoon baking soda, 1/2 teaspoon salt, 1/2 teaspoon cinnamon, 1/2 teaspoon nutmeg, 1/2 teaspoon ginger, 1/2 cup raisins (I skipped this, since none of us really like raisins in our baking)

In a smaller bowl, beat 1 egg until frothy.


Mix in 1/4 cup sugar,1/3 cup oil.


Add 1 cup cooked pumpkin puree (not pumpkin pie filling, just plain pumpkin) and 1/2 cup of milk.


Mix it up.

Make a well in the dry ingredients, and add the wet ingredients. Mix until moistened.


Fill greased muffin cups 3/4 full. Bake at 400 for 15-20 minutes. Let stand 5 minutes in pan, then remove to cooling rack.


Serve them warm.


Like I said, I was pleasantly surprised by these muffins. Warm with butter and honey they were really, really yummy. We ate them until the basket was empty.


I made them in honor of the Thanksgiving weekend, but my kids pointed out that we could make them again in just a couple of weeks for Halloween, too!

Monday, December 13, 2010

The 'Potluck' Halloween Party

I hosted a Halloween party for my kids and their friends this year and I did something I'd never done before; I asked the other moms to help. It was a 'potluck' party, where each mom brought an activity for the kids and either a treat to eat at the party, or a contribution to the goodie-bags. I provided the lunch, an activity, the piñata, and decorated the house. The rest was up to them.

And it was fabulous!

For lunch I served fresh fruit and had skeleton-hand tongs to serve them, made crescent rolls (they look like moons, you know) peanut butter sandwiches cut with pumpkin cookie cutters, cheese sticks with a slivered almond on the end (to look like fingers with fingernails) and I served chips in plastic cauldrons.

It was a simple lunch, and went over well.

One of the other moms brought these cute wicked-witch cupcakes as a treat, another brought homemade doughnuts, and I served my spider cookies.

After we ate, we moved on to the activities. One mom brought this game of GHOST, which is played like BINGO.

And she also brought a target toss game where the kids got to throw 'ghosts' into the mouth of a jack-o-lantern. Both her games were very well received.

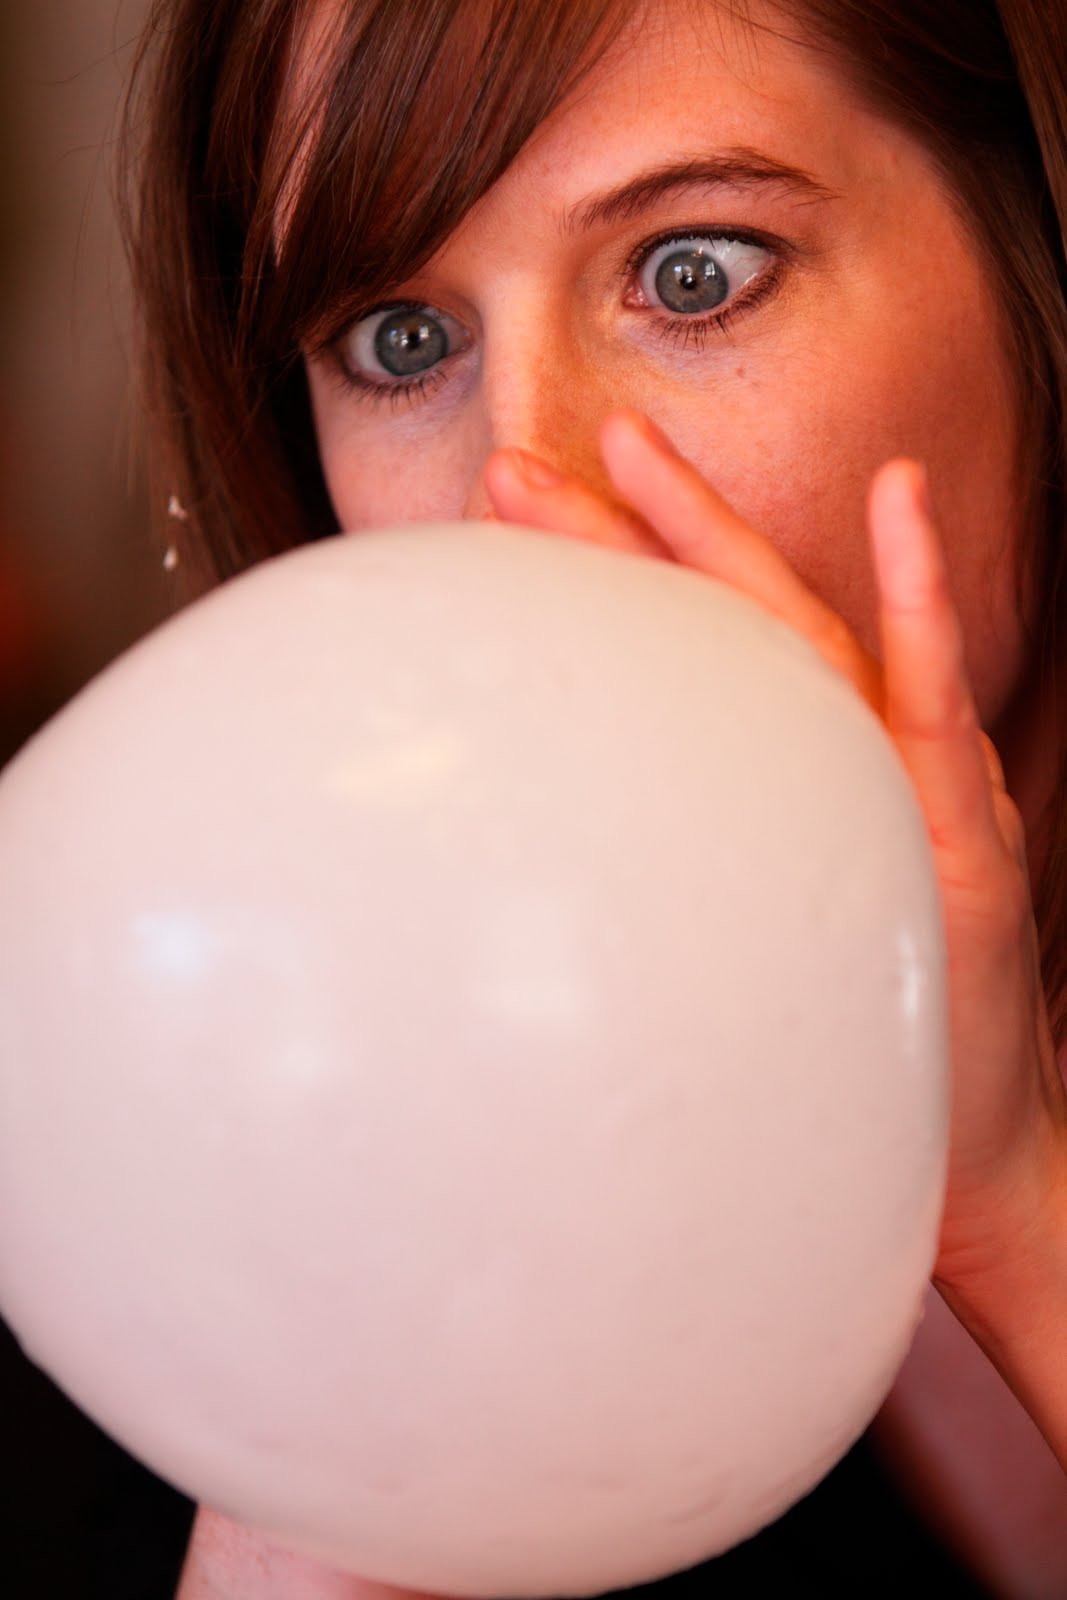
This mom made 'monster slime' with the kids. I loved this, since I know I wouldn't have thought of it. She brought all her ingredients in jars and mixed up the 'potion' with the kids helping, and then she taught them how to blow bubbles with it. It was both disgusting and delightful.

Another mom brought the materials to make a jack-o-lantern craft with them. They mixed up some glue and shaving cream and then she had lots of accessories for the children to create their own design of a pumpkin. This one covered in eyes was my favorite.

This mom brought a TON of craft supplies and helped the kids design and make their own custom monster. They got very creative with it and we had all sorts of things come out of the workshop.

I did a bobbing for apples station, and loved watching the kids. Some of them had no fear and plunged right on in, and others were very careful about staying dry. We had one girl come with a green face to be the Wicked Witch of the West, and by the time she was through, she had very little make-up left!

Our last activity was the piñata. My children came up with the design for this on their own. I did the paper and glue on the balloon, but the decorating was all them. Didn't they do great?

It was such a fun way to spend the afternoon with all our kids, and I've got to say that it really was one of my favorite parties. It was so great to have other smart, involved mothers be on board and bring their ideas to the party. The kids had a great time with the variety of games and activities, plus it was way less work than if any one of us had put it on alone!

Next time you have a party coming up, try including other mothers into the planning and carrying out. The Potluck Party. Why didn't I think of it sooner?
Related Posts Plugin for WordPress, Blogger...